
Starlink Mini Vehicle Suction Cup Mount

안녕하세요,
2 영업일 이내에 답변을 받지 못하셨다면, 지연에 대해 진심으로 사과드립니다.
더 빠른 답변을 원하시면 WhatsApp (+1 (626) 412-7352 , +86 191 2063 1131 또는 +86 190 2201 1181) 으로 문의해 주세요. 위 번호로 직접 문자 메시지를 보내주셔도 됩니다.
귀하의 인내와 이해에 감사드립니다!
귀찮으시다면, "Tesstudio 공식 설치 서비스"를 위해 남부 캘리포니아 공식 매장을 방문하세요. 저희 전문가가 귀하의 Tesla 액세서리를 완벽하게 설치해 드립니다.
주소:
14761 Franklin Ave unit G, Tustin, CA 92780, 미국
친절히 알려드립니다: 저희는 제품 판매를 전문으로 하며, 전문가에게 설치를 의뢰하실 것을 권장합니다. 부적절한 설치로 인해 발생한 문제는 애프터서비스에 포함되지 않습니다. 양해해 주셔서 감사합니다.
1년 보증을 제공합니다. (인적 손상이 아닌 제품 문제에 대해서는 1년간 애프터 서비스를 제공합니다.)
모든 주문은 FedEx, USPS, UPS, SF Express 등 신뢰할 수 있는 운송업체를 통해 배송됩니다.
모든 주문에 무료 배송 혜택을 누리세요! 재고가 있는 상품은 1~2 영업일 이내에 처리 및 발송되며, 미국 국내 배송은 일반적으로 2~9 영업일이 소요됩니다.
사전 주문 상품이나 일시적으로 품절된 상품의 경우, 배송은 상품 페이지에 제공된 기간에 따라 진행됩니다.
옵션 선택
Mount Starlink Mini to Smooth Glass Without Drilling the Vehicle
A four-suction-cup frame designed around Starlink Mini for panoramic roofs, sunroofs, windows and other compatible smooth non-porous surfaces. Use it inside or outside the vehicle when the surface and operating conditions are appropriate.
Spread the Mounting Points Around the Starlink Mini
Fewer Contact Points Concentrate More Load in Each Location
A smaller number of mounting points can place more of the assembly load into individual attachment locations, particularly when the vehicle experiences vibration.
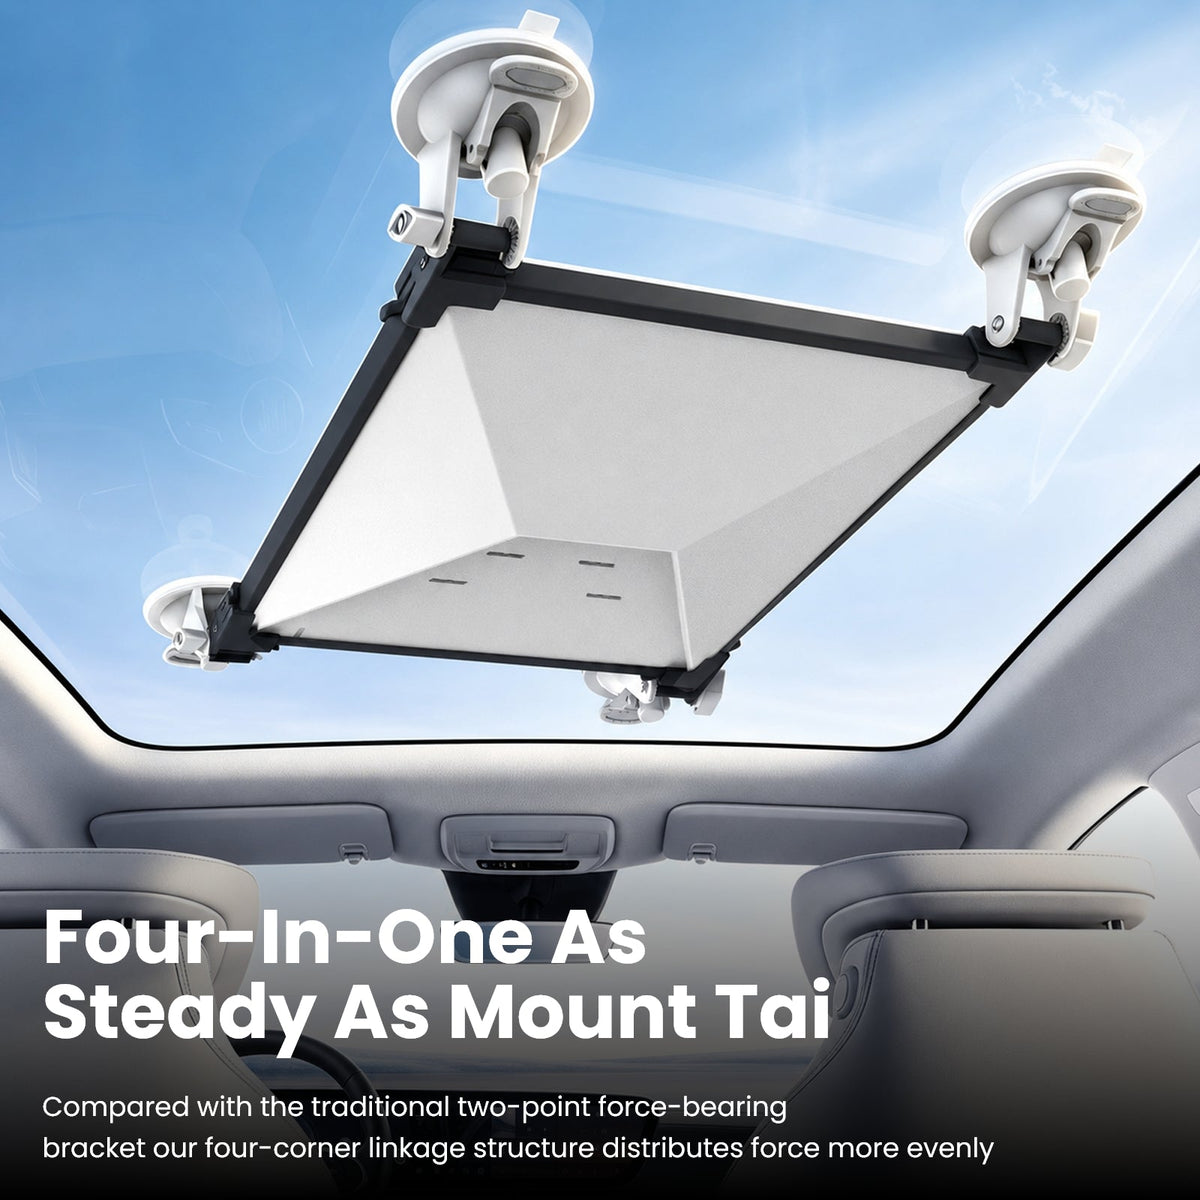
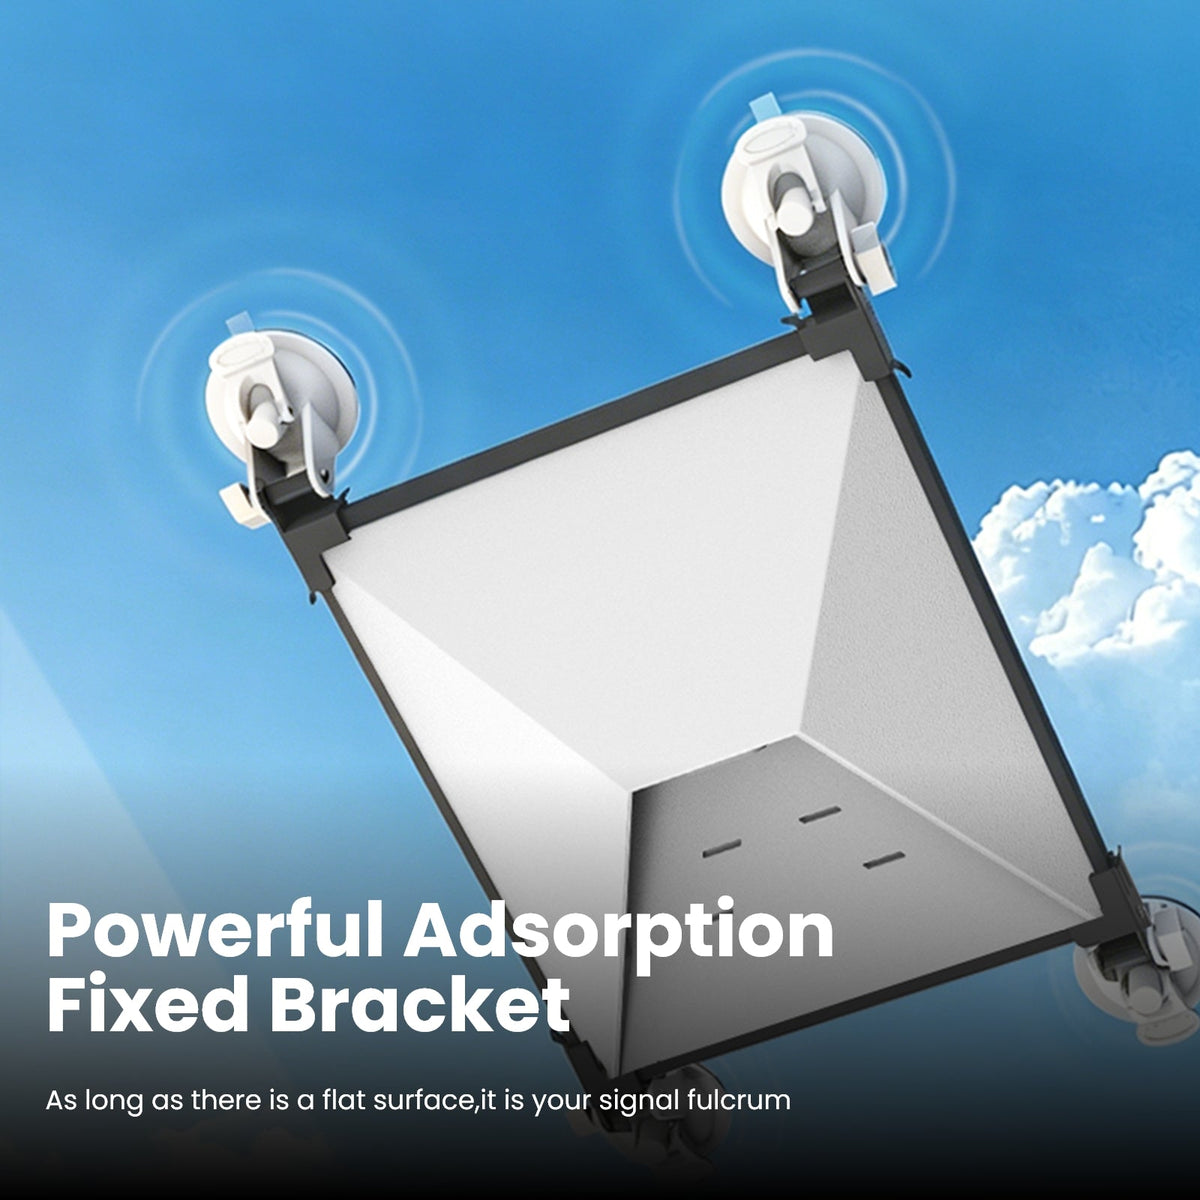
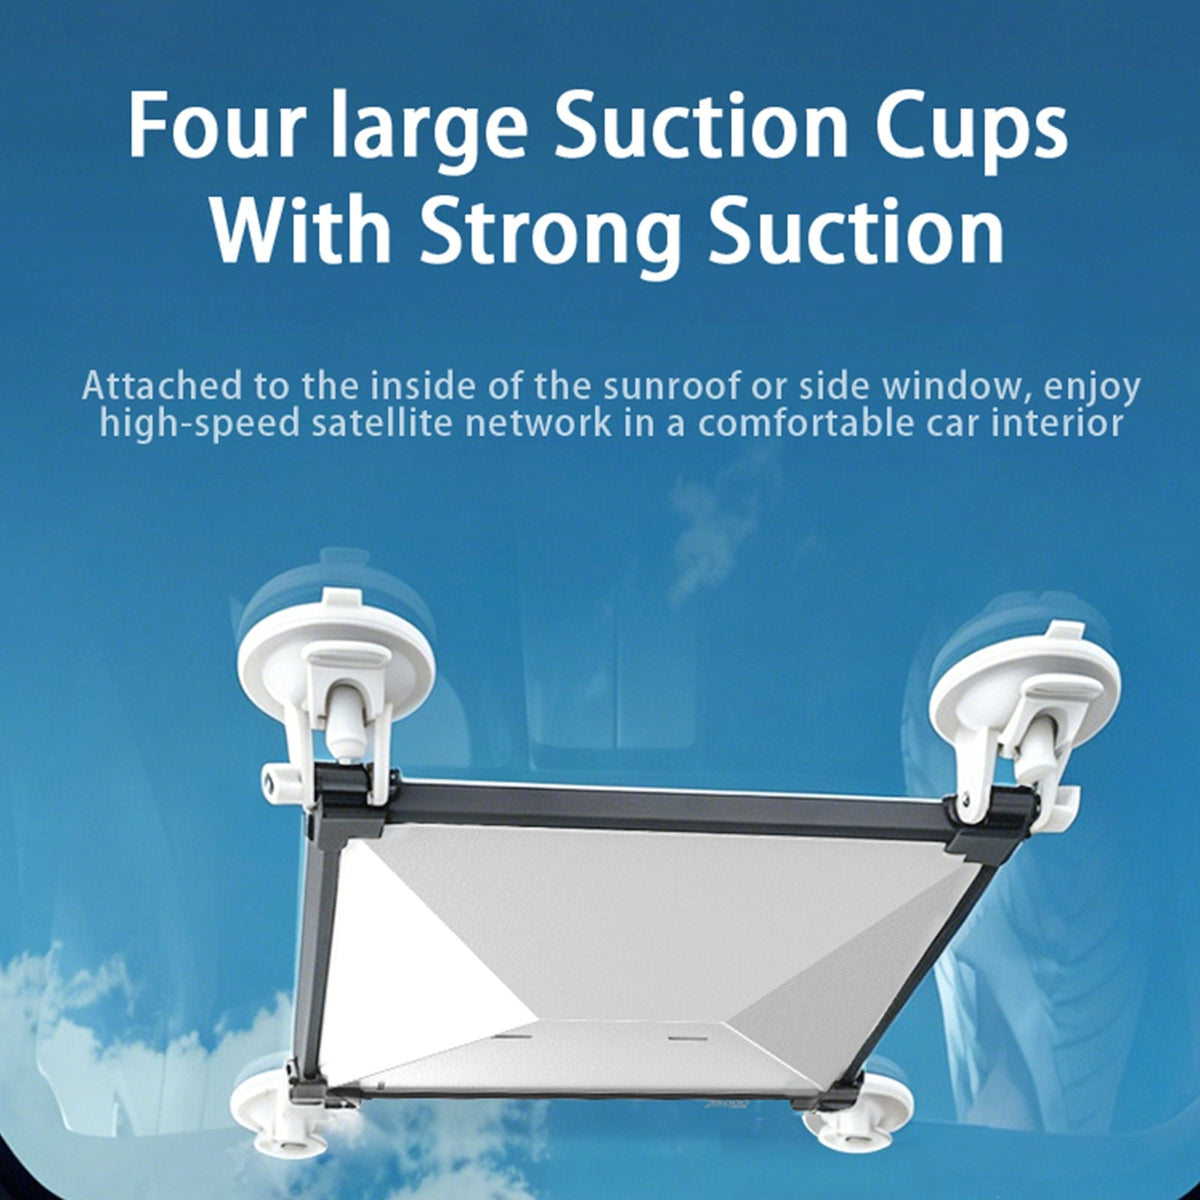
Four Suction Cups Distribute the Support Around the Frame
The rectangular linkage places one suction point near each corner, creating a wider footprint around the Mini instead of relying on one side of the antenna.
Lock It to the Glass. Remove It When the Trip Is Over.
Four Suction Cups
Four independent contact points create a broad attachment footprint on suitable glass.
Lever-Lock Operation
Locking handles make it quicker to engage or release each suction cup.
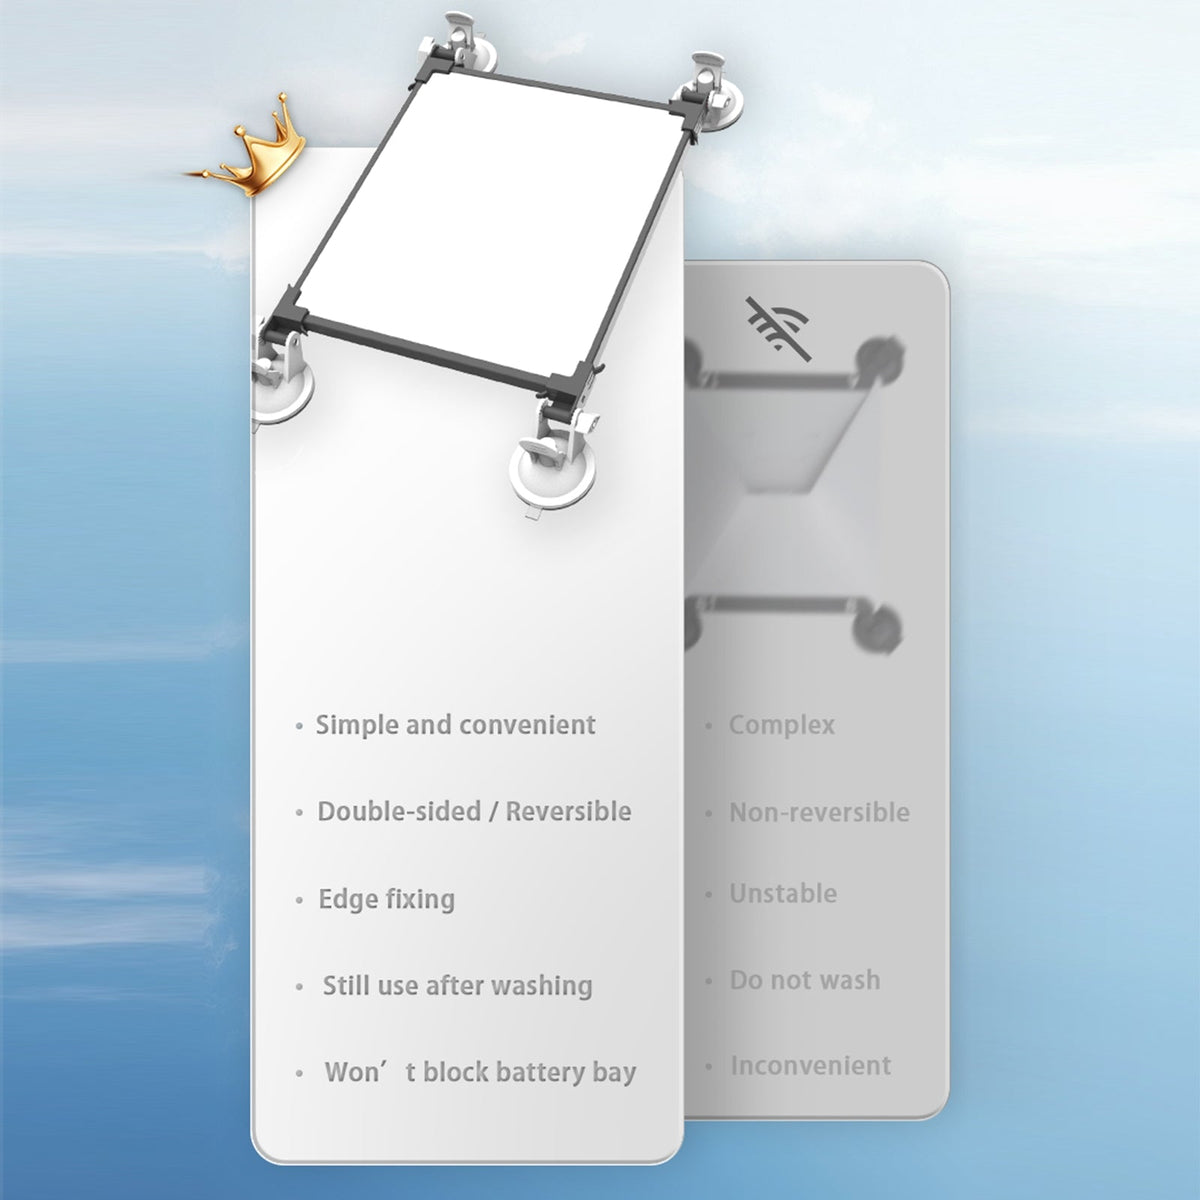
Edge-Holding Frame
The frame supports Starlink Mini around its perimeter instead of covering the main face.
Reusable Design
Suction surfaces can be cleaned before the next compatible installation.
Create Four Separate Vacuum Contact Points on Smooth Glass
Each corner uses its own mechanical suction assembly, helping distribute the mount across the available glass area.
- Four independent suction locations
- Mechanical locking handles
- Adjustable cup orientation
- Designed for smooth non-porous surfaces
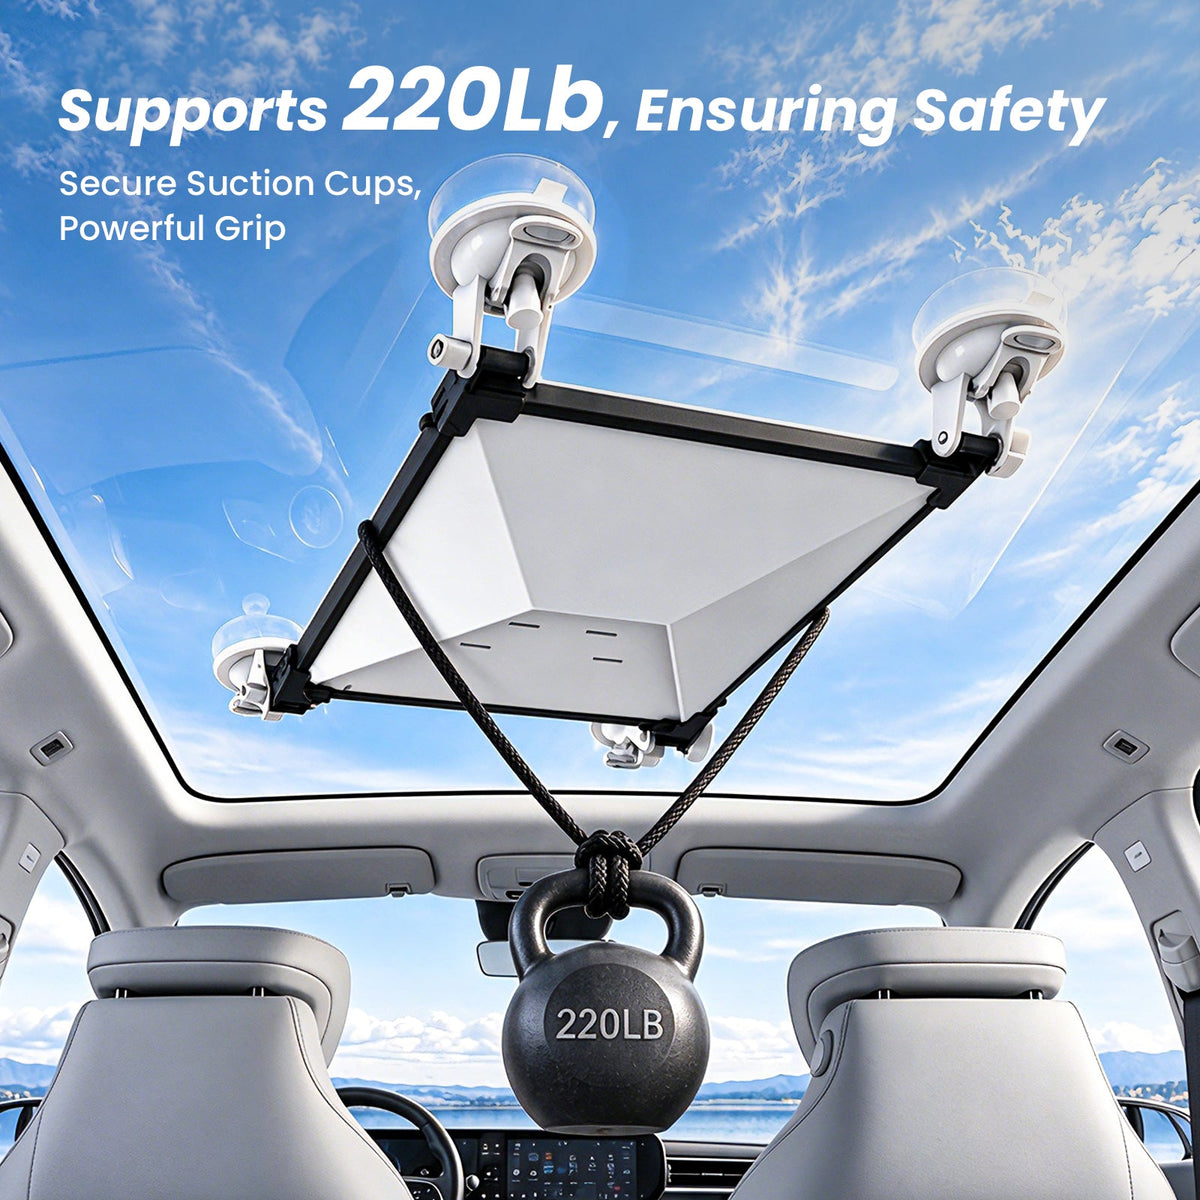
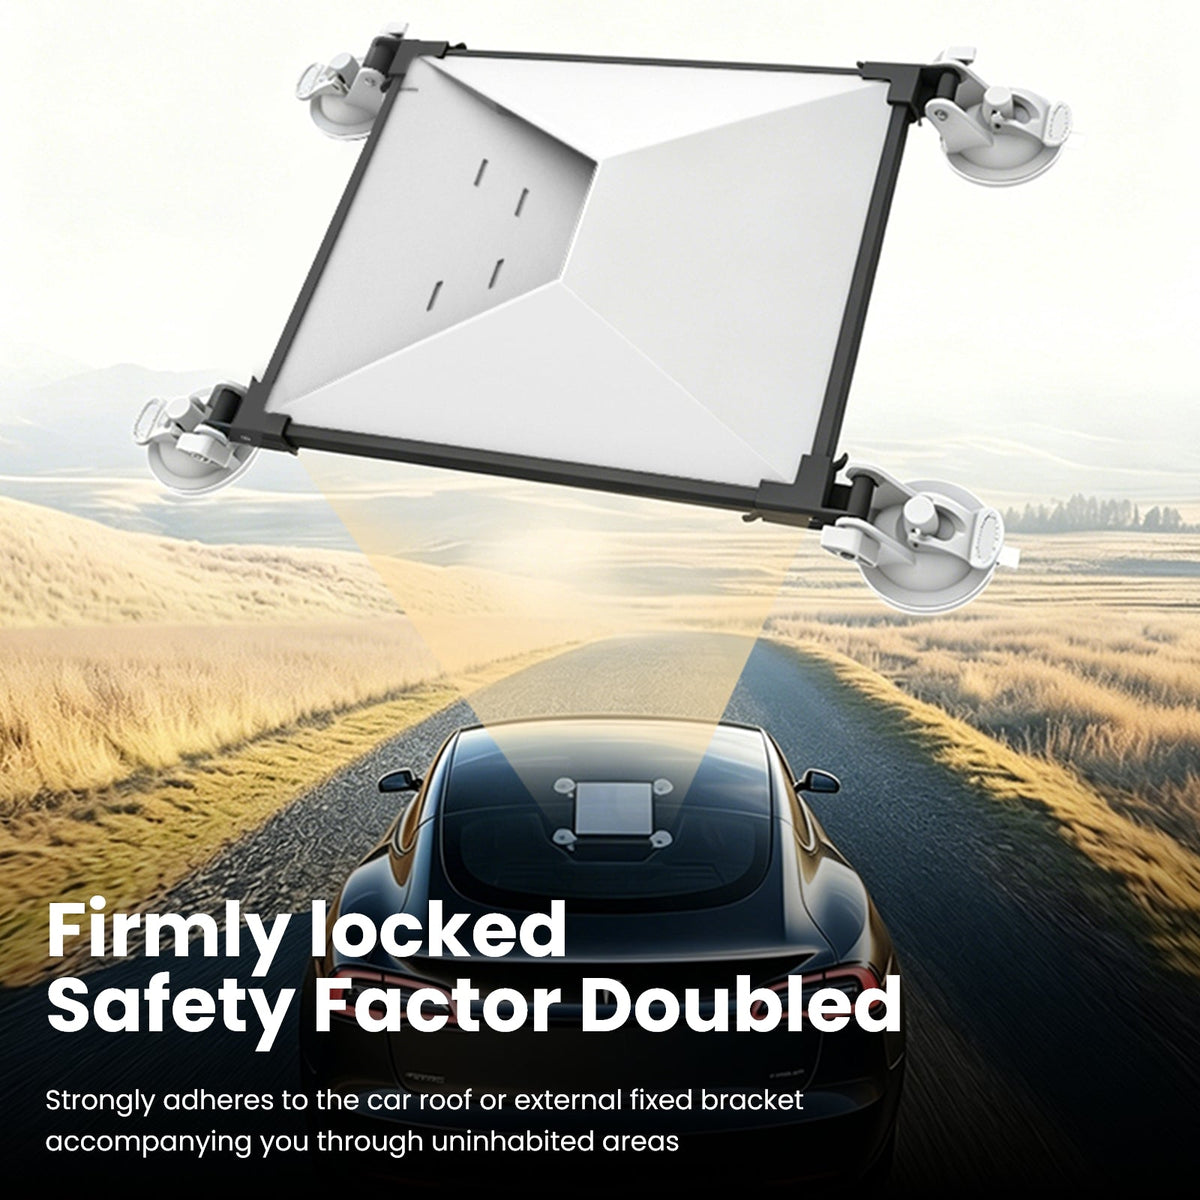
Current Product Media Demonstrates a 220 lb Static Hanging Load
The current listing shows a 220 lb suspended-load demonstration. Treat this as a product demonstration under the illustrated conditions, not as a vehicle-speed, crash or aerodynamic-load certification.
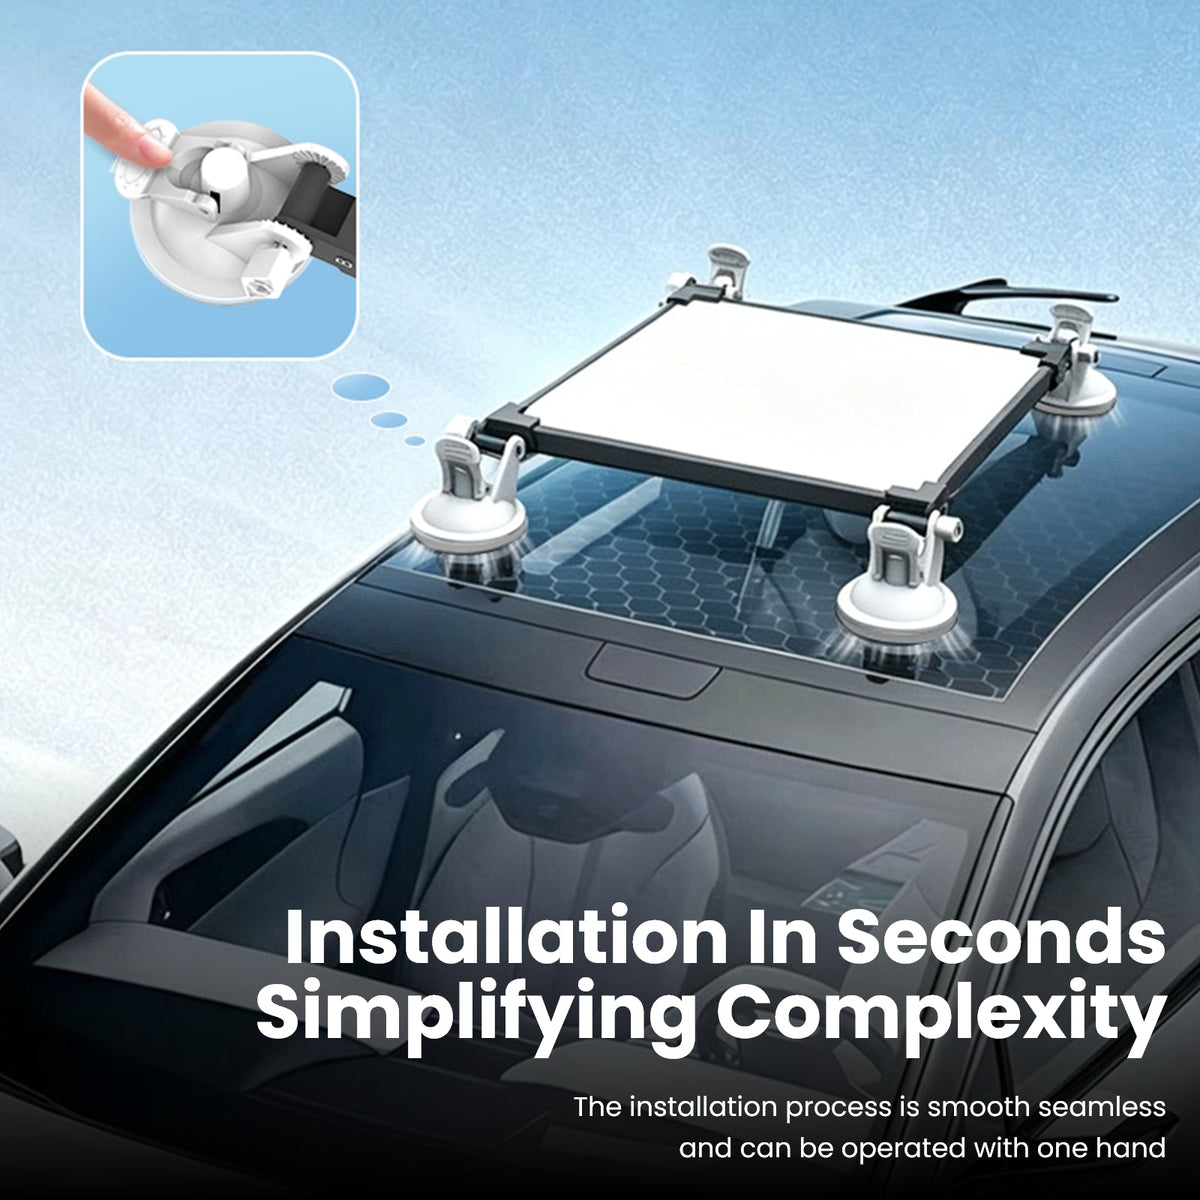
Press Down. Lock the Lever. Check the Seal.
The mechanical suction-cup handles are designed for quick temporary mounting without drilling holes or installing permanent roof hardware.
- Clean the glass before mounting
- Press every suction cup completely flat
- Engage each locking lever individually
- Pull-test all four points before relying on the mount
Suction Performance Depends on the Surface Under Every Cup
Smooth flat roof glass can provide a suitable surface when all four cups have full contact.
Useful for inside-cabin mounting when there is enough flat glass around the Starlink Mini.
May be suitable when the curvature allows every suction cup to seal completely.
Other smooth surfaces may work if they are flat, clean, rigid and compatible with suction mounting.
Paint texture, soft-touch materials, coatings, deep curvature, dirt, seams and trim can prevent a reliable vacuum seal. Test delicate surfaces before use.
Hold the Mini Around the Perimeter Instead of Covering the Main Face
The frame follows the outside edges of Starlink Mini, keeping the large central antenna surface free from mounting hardware.
- Perimeter frame layout
- Flexible contact pieces around the Mini body
- Central antenna face remains unobstructed by the frame
- Easy access for removal and repositioning
The Frame Leaves the Mini Face Open — the Vehicle Glass Still Matters
Starlink still needs suitable satellite visibility. The mount itself cannot compensate for an obstructed sky view.
Some metallic, heated, coated or specialty glass can affect radio-frequency performance.
Confirm Starlink performance in the intended vehicle position before making that location your regular setup.
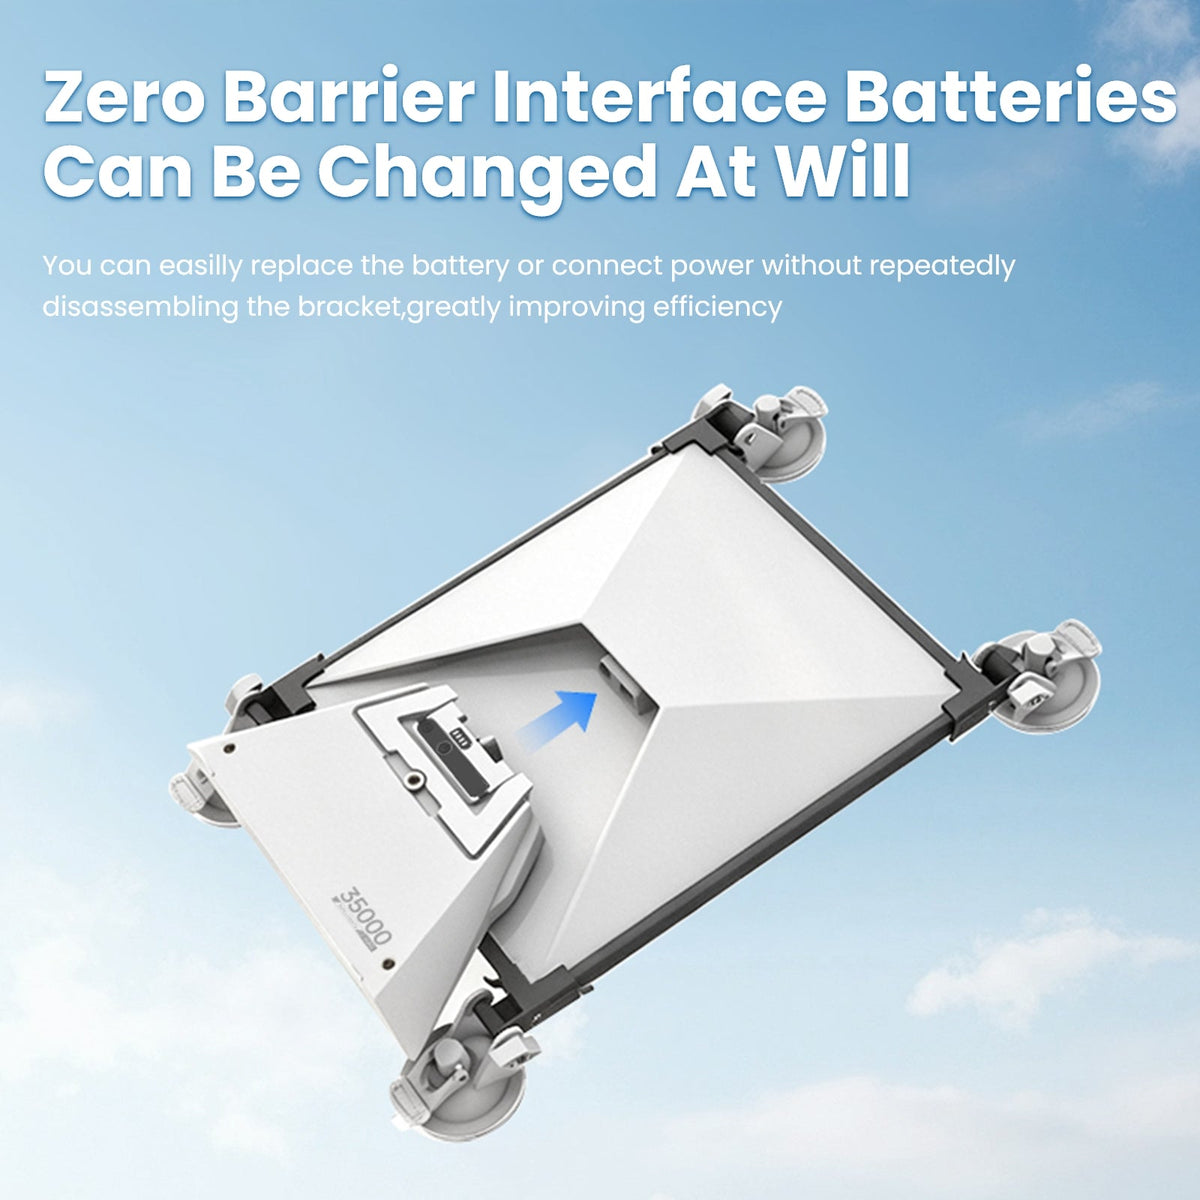
Access Power or Attached Battery Hardware Without Removing the Whole Frame
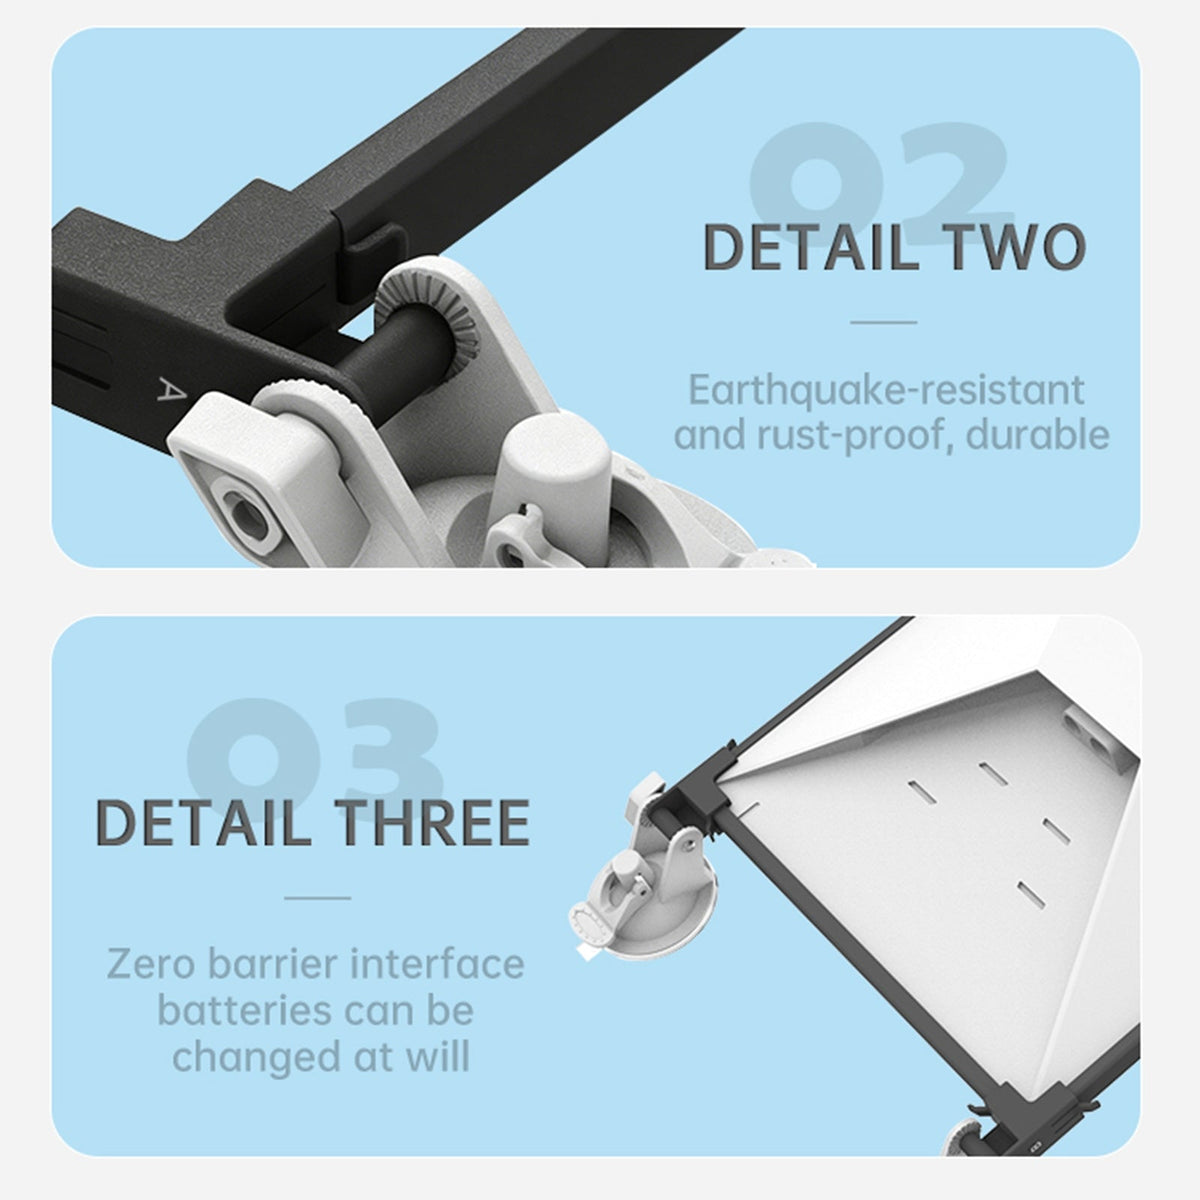
Current product imagery shows the frame leaving the rear access area available so compatible power or battery hardware can be reached without repeatedly disassembling the complete suction bracket.
- Open rear-access area
- Edge-mounted frame architecture
- Reduced need to remove the bracket for routine access
- Actual battery or power accessories are sold separately
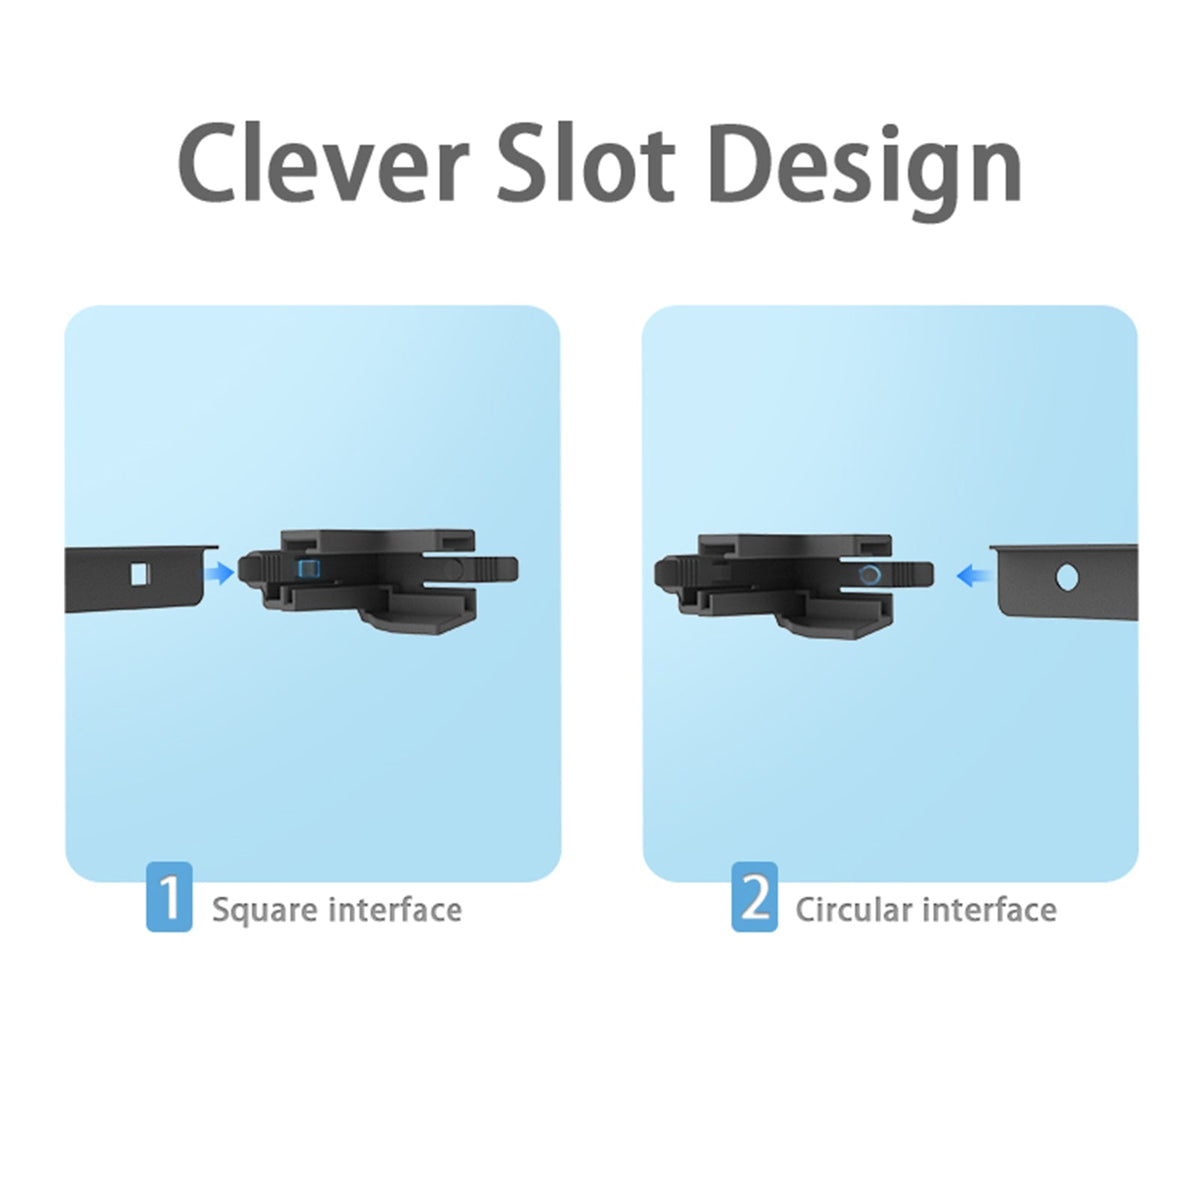
Slot-Based Corner Pieces Simplify Frame Assembly
Current product imagery shows corner couplers designed around the corresponding square and circular connection profiles used in the mounting assembly.
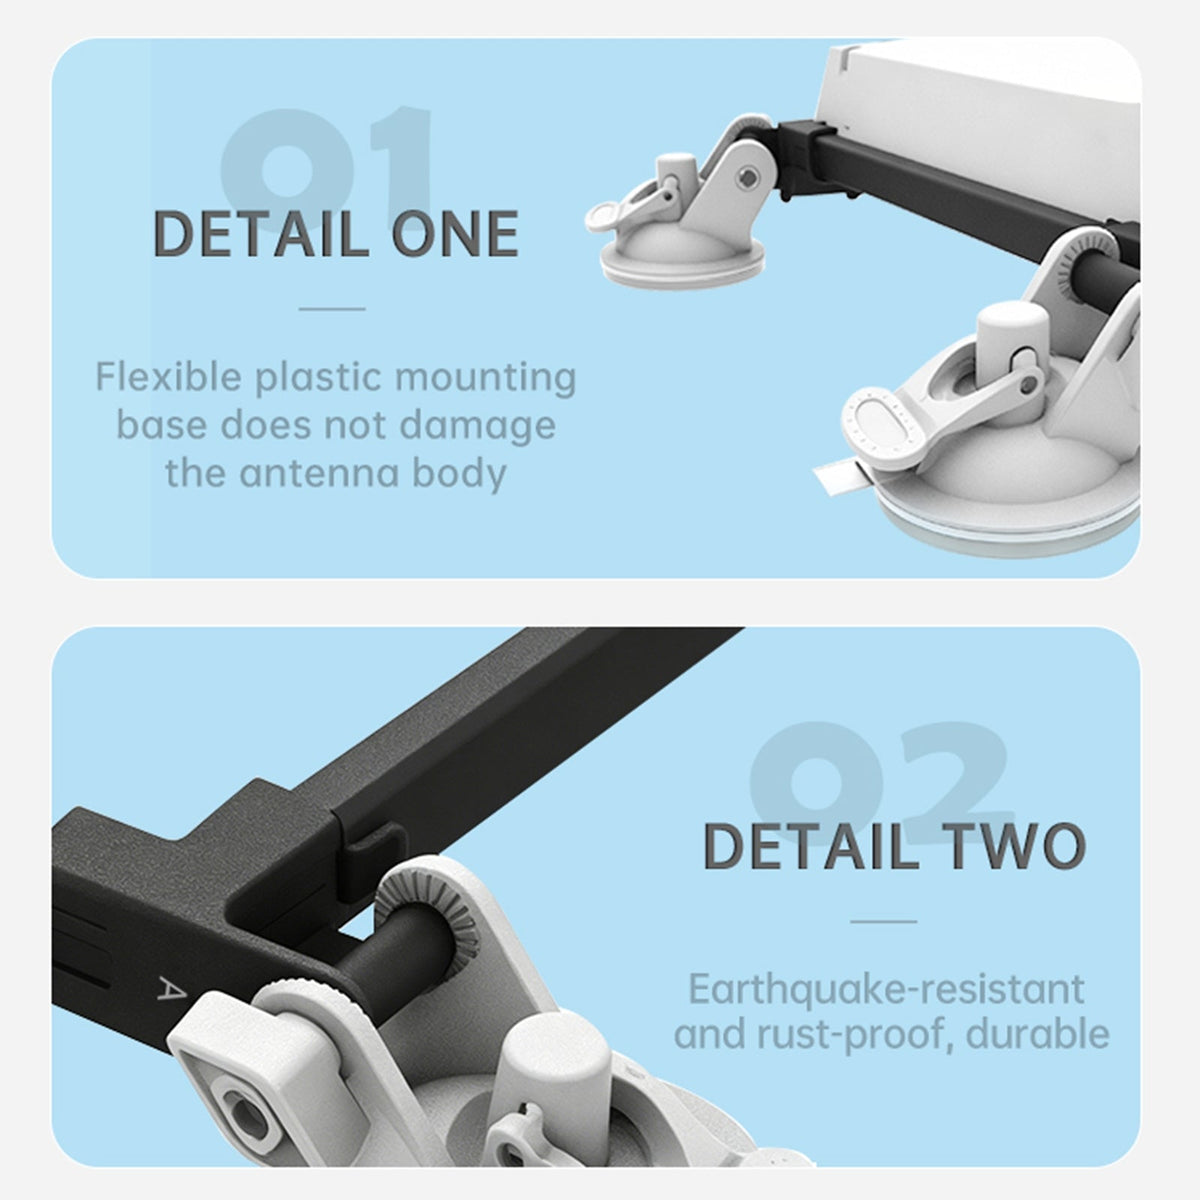
Flexible Contact Points and Adjustable Suction Assemblies
Contact pieces are designed to hold the Mini around its edge rather than placing rigid hardware across the face.
Pivoting suction assemblies provide some adjustment when positioning the frame against suitable glass.
Exterior hardware should still be cleaned and inspected after rain, salt exposure or extended outdoor use.
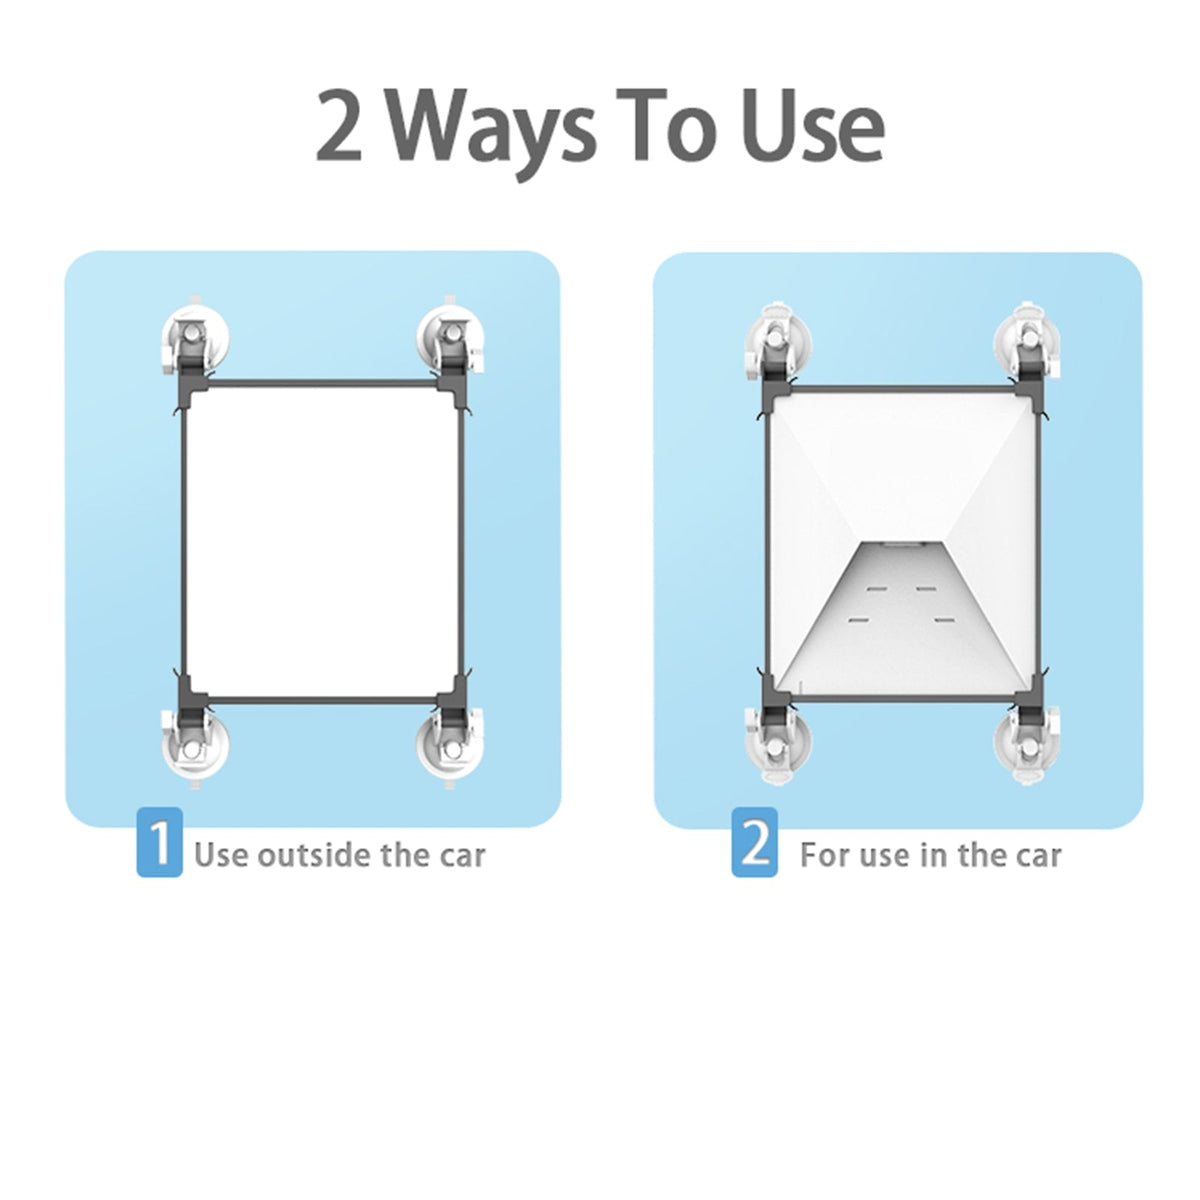
Use the Frame Inside or Outside the Vehicle
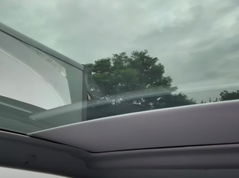
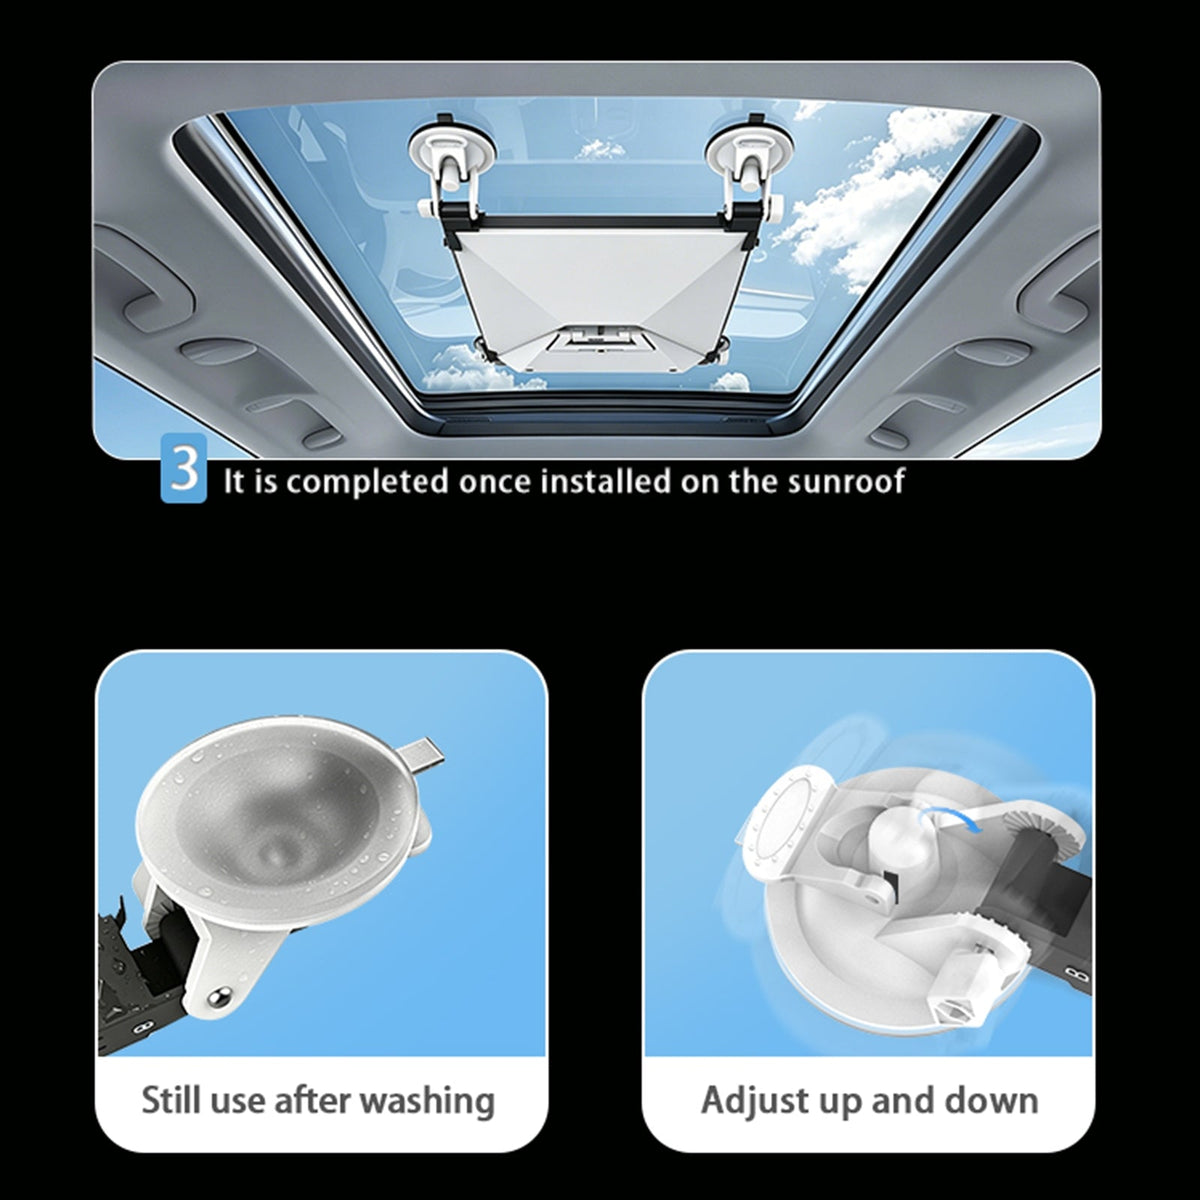
The reversible four-corner structure can be positioned for compatible interior or exterior glass installations, depending on surface condition, clearance and intended use.
One Removable Mount for Different Starlink Mini Trips
Use suitable panoramic glass for a temporary Starlink Mini travel setup.
Add removable connectivity hardware without permanently drilling the vehicle body.
Useful where suitable glass provides an alternative to permanent exterior brackets.
Deploy the Mini when needed and remove the mounting assembly when connectivity is packed away.
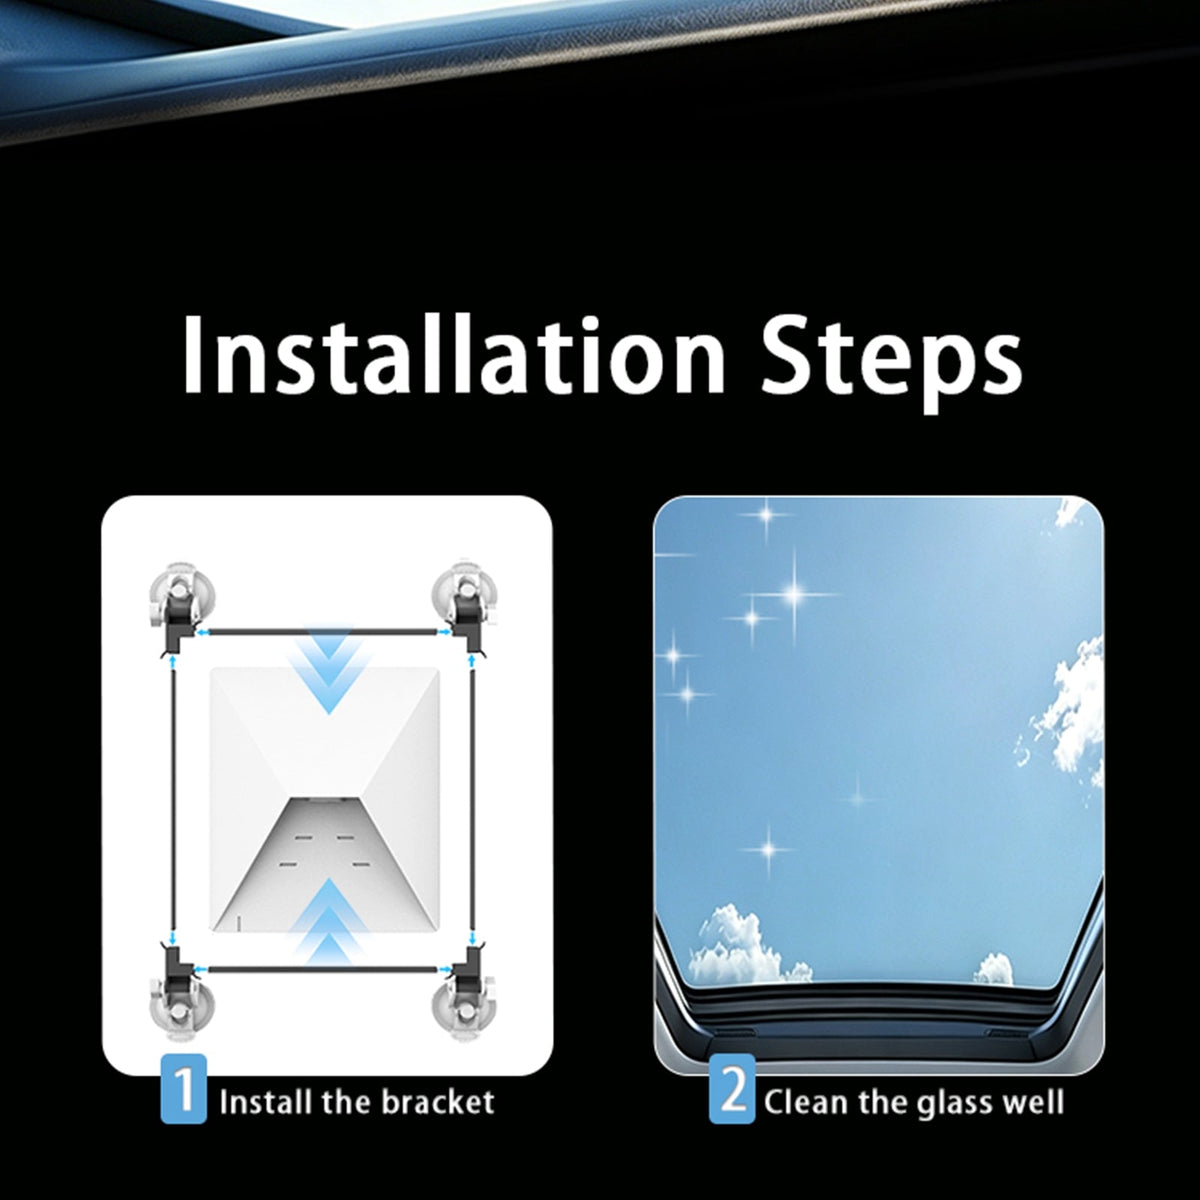
Assemble. Clean. Position. Lock. Recheck.
Suction performance depends heavily on cleanliness and full contact between each cup and the mounting surface.
Assemble the Frame
Fit the four corner pieces and crossbars around the Starlink Mini.
Clean the Glass
Remove dust, oil, wax and moisture from the glass and suction surfaces.
Press & Lock
Press each suction cup fully against the surface and engage the locking mechanism.
Pull-Test All Four
Check each corner individually before powering Starlink Mini or moving the vehicle.
Clean the Contact Surface Before the Next Installation
Unlock the mechanism before gently lifting the suction edge from the surface.
Remove dust and contamination that could prevent a complete seal during reuse.
Allow cleaned components to dry and inspect the suction surfaces before reinstalling.
Do not rely on suction cups that are cut, cracked, hardened or permanently deformed.
Static Suction Strength Is Not a Guaranteed Driving-Speed Rating
Exterior suction changes with temperature, glass condition, contamination, rain, wind, vibration, road shock and time. Recheck the mount frequently whenever it is used outside a vehicle.
Check all four suction cups individually and stop use if any corner begins losing vacuum.
The hanging demonstration does not establish a universal safe driving speed or wind-load certification.
For exterior mobile use, an appropriate secondary retention method can provide additional protection.
Complete the Starlink Mini Vehicle Setup
Three complementary Tesstudio power accessories for vehicle, RV and portable Starlink Mini use.
Starlink Mini Suction Cup Mount Questions
Which Starlink model does this mount fit?
This listing is designed around Starlink Mini. Compare your terminal shape with the product images before ordering.
How many suction cups does the mount use?
The frame uses four independent suction cups, with one attachment point positioned near each corner.
What does the 220 lb figure mean?
The current product imagery shows a 220 lb suspended static-load demonstration. This is not the same as a certified dynamic, wind-load or driving-speed rating.
Does the mount require drilling?
No drilling is required for the suction-cup installation shown. The cups attach mechanically to a suitable smooth non-porous surface.
Can it be mounted inside a panoramic sunroof?
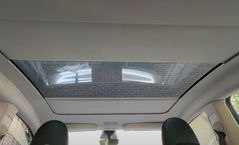
Yes, current product imagery shows the mount installed against the inside of panoramic roof glass. Confirm that all four cups sit completely flat and that the assembly does not interfere with airbags, shades, moving roof components or driver visibility.
Can it be installed outside the vehicle?
The current product design is shown in both interior and exterior configurations. Exterior suction performance is more sensitive to rain, temperature, wind, dirt and vehicle vibration, so inspect the mount frequently.
Is there a guaranteed safe driving speed?
No universal safe driving speed should be inferred from the static load demonstration. Aerodynamic loading varies with vehicle shape, mounting position, crosswind, road speed and weather.
What surfaces work best?
Smooth, clean, flat and non-porous surfaces provide the best conditions for suction mounting. Glass is generally more predictable than textured, porous or strongly curved trim.
Will it work on a textured dashboard?
Textured dashboards are generally less suitable because surface grain, soft-touch coatings and curvature can prevent a complete suction seal.
Can I use it on tinted glass?
Suction mounting may be possible on suitable glass, but aftermarket films and coatings can react differently to pressure. Test a small area first and avoid damaged, peeling or poorly bonded tint film.
Will glass affect the Starlink Mini signal?
The frame itself leaves the main Mini face open, but some metallic, heated or specialty-coated vehicle glass can reduce radio-frequency transmission. Test real Starlink performance in your chosen location.
Does the mount block the Starlink Mini power or battery area?
Current product imagery shows the edge-frame design leaving the rear access area open for compatible power or attached battery hardware.
Can the suction cups be reused?
Yes. The mount is intended to be removable and reusable. Clean the suction contact surfaces between installations and inspect them for cuts, hardening or deformation.
Can the suction cups be washed?
Current product imagery promotes the cups as reusable after cleaning. Remove contamination, rinse as appropriate and allow the suction surfaces to dry before reinstalling.
Why will a suction cup not stay attached?
Common causes include dust, oil, moisture, surface texture, strong curvature, damaged suction material or incomplete lever engagement. Clean and inspect both surfaces before trying again.
Should I use a secondary safety tether?
Secondary retention can provide an additional layer of protection for exterior or overhead installations where appropriate. Use only secure attachment points that do not interfere with vehicle operation.
Can I leave the mount installed permanently?
Suction performance can change over time with temperature, vibration and contamination. This type of mount should be inspected periodically rather than treated as maintenance-free permanent hardware.
Does this mount provide power to Starlink Mini?
No. This is a mechanical mounting accessory only. Starlink Mini still requires a compatible power cable and power source.
Is Starlink Mini included?
No. Starlink Mini, battery accessories, vehicles and other equipment shown in the product images are for demonstration only. This listing is for the suction-cup mounting assembly.
질문과 답변
이메일, 실시간 채팅, 그리고 자세한 설치 가이드를 통해 도움을 드립니다. 또한, 인플루언서들이 직접 출연하는 단계별 튜토리얼 영상을 제공하여 설치 과정을 도와드립니다.
당사는 1년 보증을 제공합니다(일부 제품은 2년).
네, 설치 후 제품을 제거해도 차량의 원래 배선 하네스에 영향을 미치지 않습니다.
고객이 제품을 받은 후 품질에 문제가 있는 경우 무료로 반품 및 교환해 드립니다.

Subscribe
Join Us - Enjoy our latest news and exclusive discounts & gifts.