Owner Explainer: Tesla Seat Belt Checks and Post-Collision Replacement
Owner Explainer · Current Tesla Primary Guidance

Tesla says every occupant should wear a flat, correctly routed seat belt for every trip. Owners can perform a four-step seat belt check for the buckle, anchor, smooth extension and inertia lock. If a belt fails, does not retract or latch, shows damage, or was worn in a collision, stop using that seat and arrange qualified inspection or replacement; the system has no user-serviceable parts.
30-Second Brief
- This dated Owner Explainer reviews current Tesla documentation on November 5, 2026; it does not claim Tesla changed its seat belt system today.
- Model 3 and Model Y manuals give the same basic fit rule: lap belt low across the pelvis, shoulder belt across the chest and collarbone, with no twist or slack.
- Tesla lists four manual checks for each belt: buckle retention, permanent-anchor retention, smooth full extension and retraction, and automatic locking during a quick pull.
- If a belt fails any test, Tesla says to repair it immediately and not let an occupant use that seating position.
- Belts worn in a collision must be inspected or replaced even when damage is not obvious.
- Do not disassemble, modify or attach aftermarket comfort devices to seat-belt components.
What Happened
Tesla's current Model 3 and Model Y manuals contain a practical owner checklist that is easy to miss: how to confirm a seat belt is routed and latched correctly, how to test the reel and anchors, and when a seating position should be taken out of use.
This is standing safety guidance, not a new recall or a claim that a defect exists. Its value is giving owners a repeatable inspection routine and clear stop lines after a collision or when a belt will not latch or retract.
What Is Confirmed
- Correct routing: Tesla says the belt should lie flat across the pelvis, chest and midpoint of the collarbone, between the neck and shoulder.
- Buckle check: with the belt fastened, a quick forceful pull near the buckle should not release it.
- Anchor check: a quick pull near the door should leave the permanent attachment locked; Tesla says never try to remove it.
- Webbing check: unreel the belt fully, look for wear or damage, and confirm smooth, complete retraction.
- Inertia-lock check: with the belt partly extended, a quick forward pull on the tongue plate should lock the mechanism.
- Failure response: repair immediately and do not use the seating position if a belt fails a test.
- Collision boundary: a belt worn in a collision must be inspected or replaced even if no damage is visible.
What Remains Unconfirmed
This article cannot determine whether an individual belt, buckle, pretensioner or anchor is safe. A visual check does not replace diagnosis by Tesla or another qualified repair facility, and a passing owner check does not rule out hidden collision damage.
Exact construction and regional instructions can vary by vehicle, model year and market. Owners should use the manual shown on their own touchscreen and follow local restraint laws.
Why It Matters
Seat-belt faults are easy to normalize when a belt retracts slowly or a warning seems intermittent. Tesla's instructions provide a harder boundary: a failed test, failure to latch or retract, visible damage, or collision use requires service rather than workarounds.
The same logic applies to seating position. If one belt is not functioning, the safe response is not to move the warning aside or add a clip; it is to stop using that seat until the restraint system is repaired.
What Tesla Owners Should Know
- Start with fit. Sit upright and route the lap belt low across the hips, with the shoulder section across the chest and collarbone.
- Remove twists and slack. Never sit on the belt or place padding, hard objects or aftermarket attachments between the body and belt.
- Run all four checks. Test the buckle, permanent anchor, webbing travel and quick-pull lock for every seating position.
- Take failures seriously. If a belt will not latch, retract smoothly or lock during the quick-pull check, do not use that seat.
- After a collision, arrange inspection. Visible damage is not required before Tesla calls for inspection or replacement.
- Do not open the mechanism. Pretensioners may contain pyrotechnics and the system has no owner-serviceable parts.
- Use the matched manual. Check the in-car manual for the exact vehicle and use the Tesla app to schedule service when required.
Tesstudio Analysis
Tesstudio scores this dated Owner Explainer at 73.2. Source authority, safety value and actionability are high because the stop lines come from current Tesla manuals for two high-volume models. Timeliness and event magnitude are lower because this is standing documentation rather than a same-window recall or product change.
The key owner rule is binary: testing can identify an obvious problem, but it cannot certify crash safety. Any failed check or collision-used belt moves the decision from DIY observation to qualified inspection.
Related Tesla News Resources
For service preparation, see Tesstudio's Tesla Service Appointment owner explainer. No Related Gear module is included because the cited safety guidance does not establish an accessory recommendation.
Sources & Reporting Notes
- Tesla Model 3 Owner's Manual: Seat Belts — primary source for fit, adjustment, testing, collision inspection and service boundaries.
- Tesla Model Y Owner's Manual: Seat Belts — second current vehicle manual confirming the same core checks and warnings.
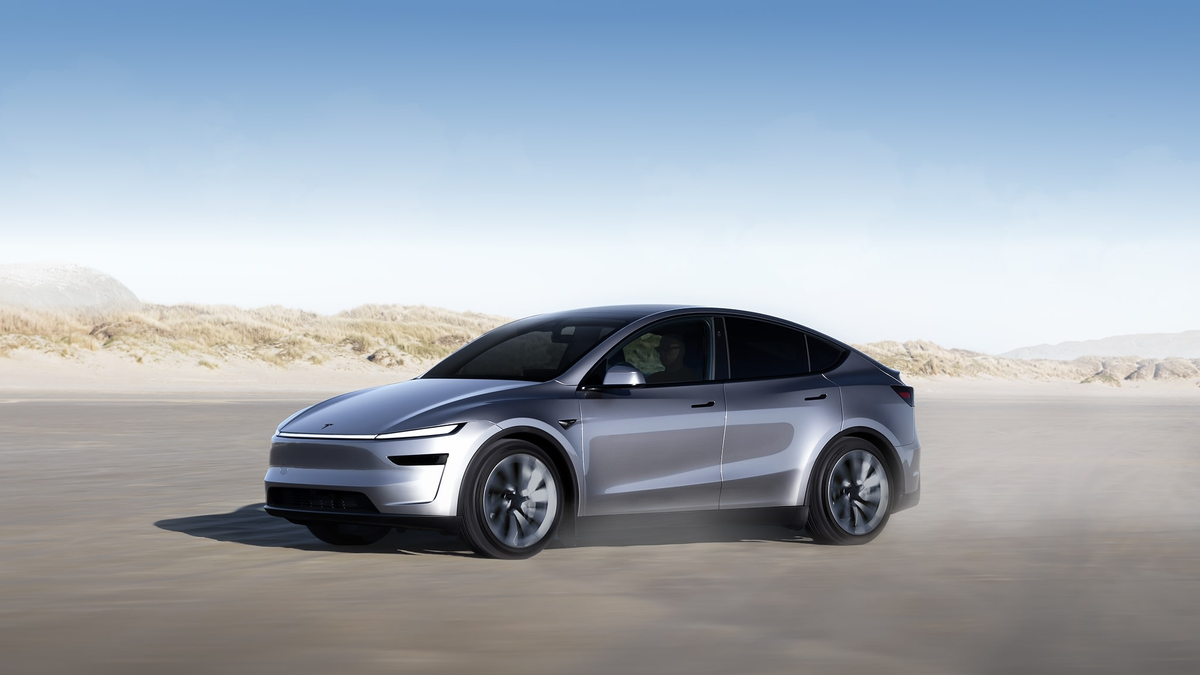
Reporting note: This mandatory-fallback explainer is dated November 5, 2026 in America/Los_Angeles and does not present standing guidance as a new announcement. Both visuals are current official Tesla product images labeled as illustrative.
Update & Correction Log
November 5, 2026: Initial fallback publication. The article preserves Tesla's fit, testing, failed-seat, collision-inspection and no-DIY-disassembly boundaries.




댓글 남기기
이 사이트는 hCaptcha에 의해 보호되며, hCaptcha의 개인 정보 보호 정책 과 서비스 약관 이 적용됩니다.