






Starlink Mini Flexible Suction Mount for SUVs, Vans & RVs

Check the selected Tesla model, model year, and option before checkout. If this product has a Car Model or Compatible Model selector, choose the option that matches your vehicle.
- Use the product images and variant name to confirm the correct version.
- If you are unsure about fitment, contact Tesstudio with your Tesla model and production year before ordering.
Tesstudio installation support is available for Tesla owners who need help choosing, installing, or troubleshooting accessories.
Most Tesstudio accessories are designed for straightforward DIY installation. For powered upgrades, wiring, lighting, or large exterior parts, professional installation may be recommended.
Local installation and technical support
- Address: 14761 Franklin Ave # G, Tustin, CA 92780
- Technical support: +1 (657) 543-9876 or +1 (657) 565-1007
- Support hours: Monday-Friday, 8:30 AM-5:30 PM
The phone numbers above are for technical installation support only. For orders, shipping, returns, or general customer service, contact:
- Email: support@tesstudio.com
- WhatsApp: +1 714 317 9647
Tesstudio checks fit, material, and daily-use durability before listing products for Tesla owners.
- Eligible products include warranty support for non-human damage issues.
- If a product arrives damaged or does not fit as expected, keep the packaging and contact us with photos so we can help quickly.
In-stock items are usually processed within 1-2 business days. Delivery time depends on destination, product size, and stock status.
- Orders over $99 qualify for free standard shipping where available.
- Oversized, remote-area, pre-order, and special-market items follow the terms shown on the product page.
- Tracking is provided after dispatch.
Need help before or after purchase?
Contact Tesstudio support:
WhatsApp
+1 714 317 9647
Choisir les options
A Removable Starlink Mini Mount for Glass, RVs, Vans and Cars
Mount Starlink Mini without adding permanent roof hardware. Choose a compact single-support configuration or a wider double-support setup for compatible smooth, clean and non-porous mounting surfaces.

Deploy Starlink Mini Without Committing to a Permanent Mount
Drilling and Fixed Roof Hardware Are Not Right for Every Trip
Rental vehicles, family cars, temporary RV setups and occasional road trips may not justify a permanently installed roof bracket or additional holes in the vehicle.
Set Up Starlink Mini When You Need It, Then Remove the Mount
Lever-lock suction cups create a temporary mounting option on compatible smooth surfaces so the Starlink Mini can be deployed without permanent vehicle modification.
Simple Hardware for Faster Starlink Mini Deployment
No Drilling
Uses removable suction hardware instead of requiring holes through the vehicle roof or interior trim.
Multiple Positions
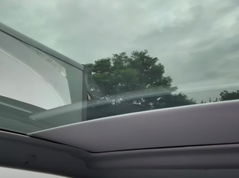
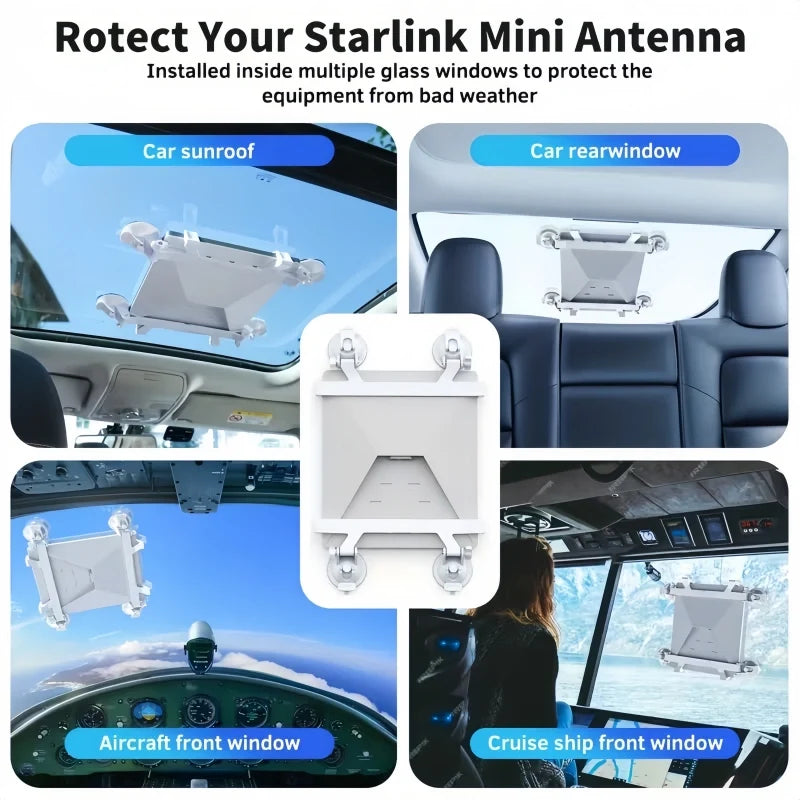
Suitable for compatible windshield, sunroof, rear-glass and other smooth mounting locations.
Quick Removal
Release the suction-cup locks when the Starlink Mini setup needs to be moved or packed away.
Two Mount Styles
Choose the compact single-support setup or the broader double-support configuration.
Spread the Mount Across Four Suction Points
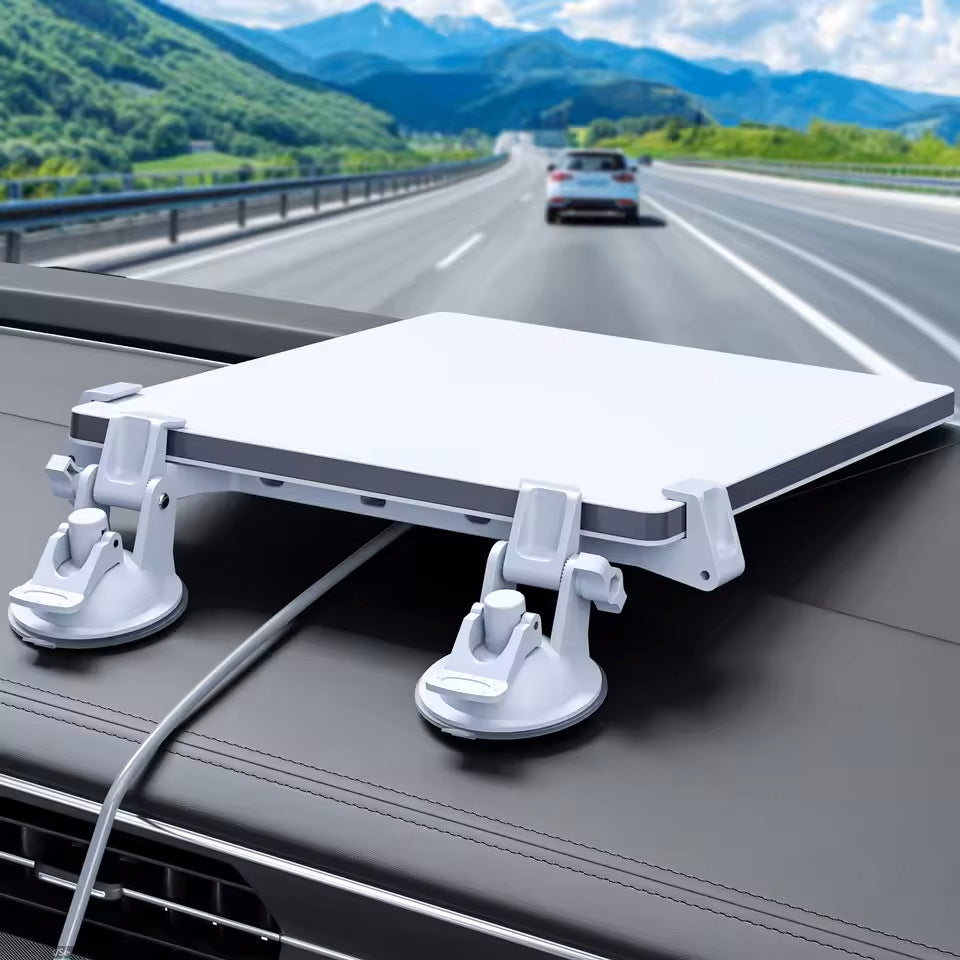
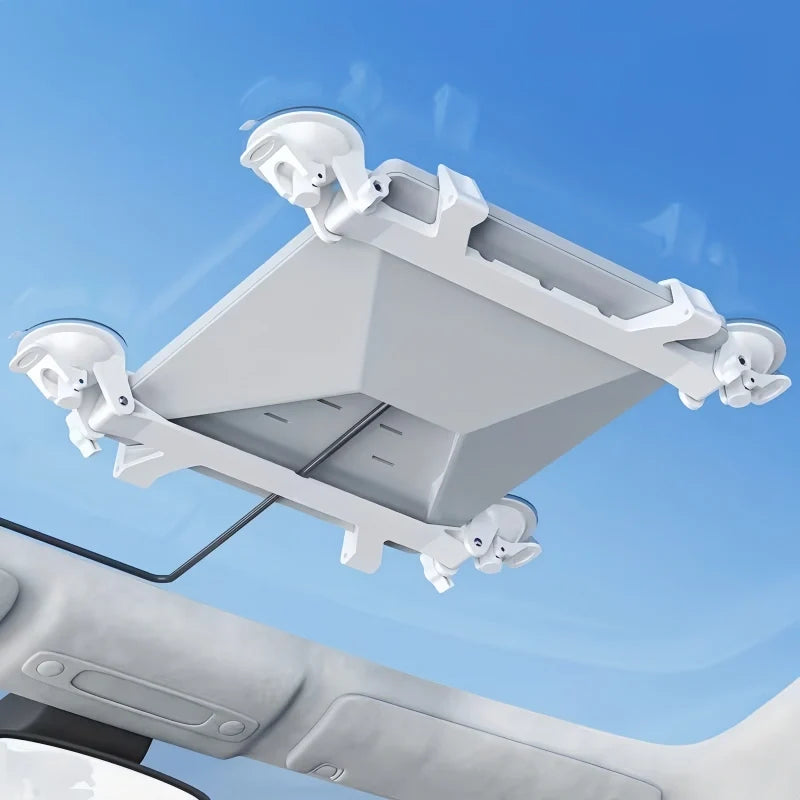
The Double Suction Mount uses four separate locking suction points around the Starlink Mini to create a broader support footprint on a suitable flat glass surface.
- Four independent suction points
- Two support rails
- Starlink Mini held between the support brackets
- Removable without permanent glass modification

Suction Performance Starts With the Mounting Surface
Clean flat glass generally provides the most predictable surface for suction-cup mounting.
Use only where the mount and Starlink Mini do not interfere with the driver's required field of view.
Confirm the glass is flat enough, clean and able to provide full suction-cup contact.
Some non-porous surfaces may work when they are sufficiently smooth, flat, clean and undamaged.
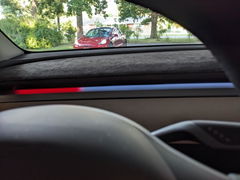
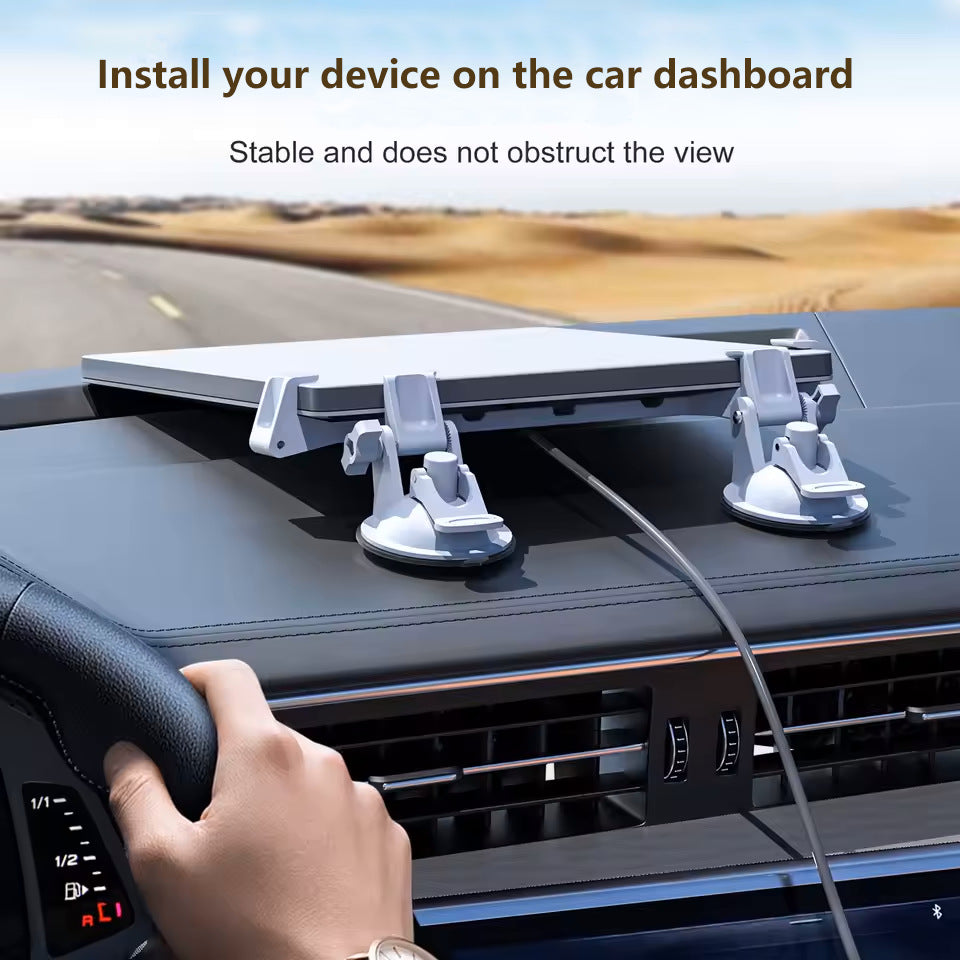
Do not assume every dashboard surface is suitable. Grain, stitching, curvature, coatings, dust and soft-touch materials can prevent a complete vacuum seal.
Built Around the Starlink Mini Form Factor
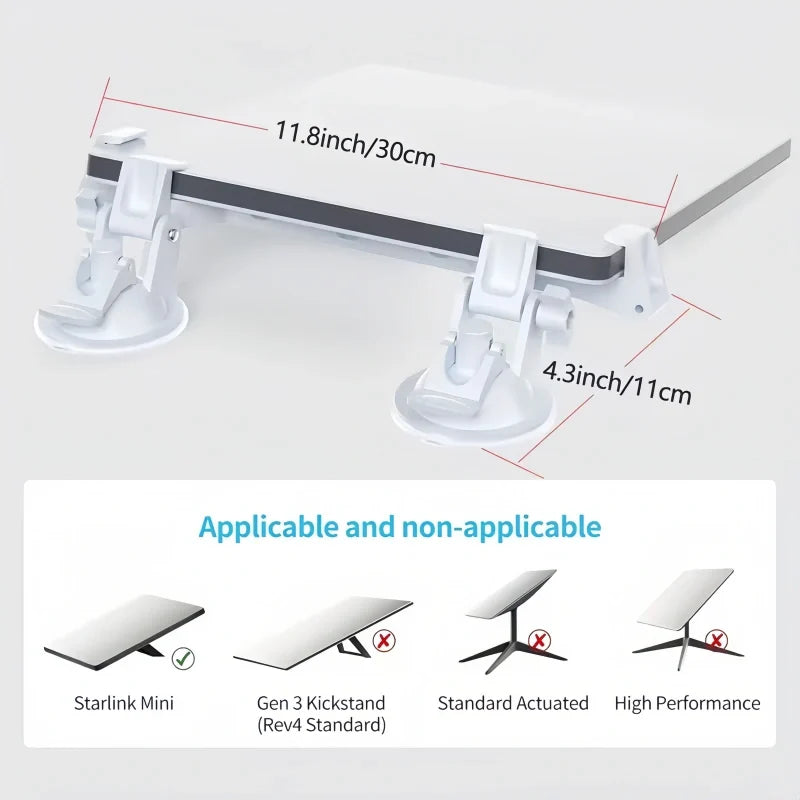
Current product media identifies Starlink Mini as the compatible antenna. Do not order this mount for other Starlink dish designs based only on visual similarity.

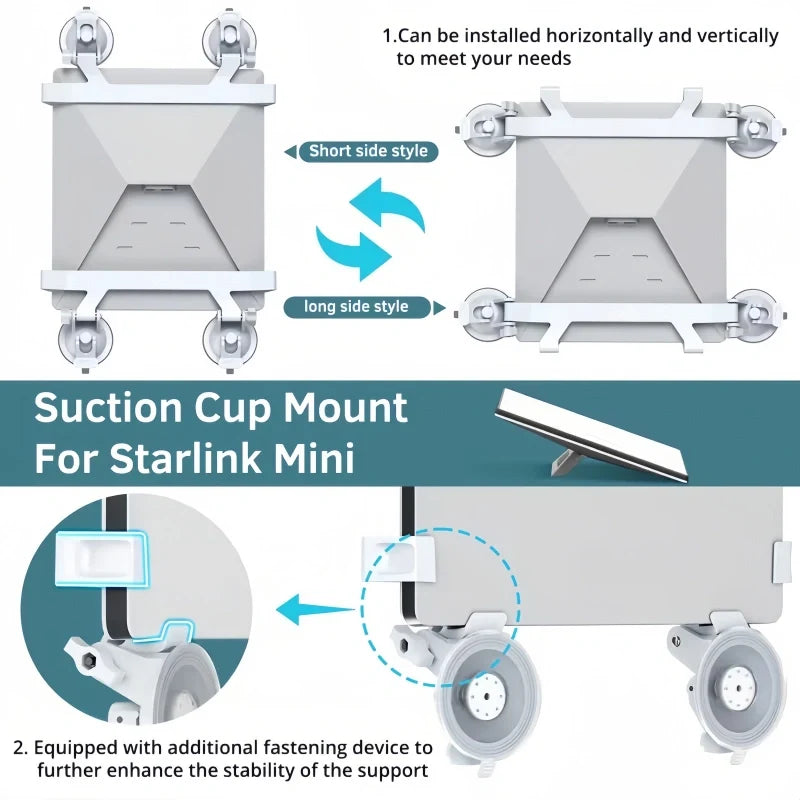
Configure the Double Mount Around the Available Glass Area
Current product media shows the double-support configuration positioned across both the long and short sides of the Starlink Mini, giving more flexibility when the available glass area has different proportions.
- Long-side mounting configuration
- Short-side mounting configuration
- Four-point suction layout
- Check cable direction before locking the final position

One Removable Mount for Different Mobile Setups
Useful when a permanent exterior Starlink bracket is not part of the RV setup.
Deploy Starlink Mini on suitable glass and remove the mount when the workspace is packed down.
Add a temporary Mini mounting option without adding fixed roof hardware.
A removable option for temporary trips, camping and mobile work setups.
Keep Starlink Mini Inside the Cabin When the Surface Allows It
Interior glass mounting can help keep the Starlink Mini away from direct exterior weather while still creating a temporary travel setup.
- Windshield or sunroof glass options
- Less exposure than exterior mounting
- Easy access to the power cable
- Remove or reposition if driver visibility is affected

Add the 10FT Power Cable Only When Your Setup Needs It
The current selector includes mount-only versions and versions bundled with a 10FT vehicle power cable. Confirm your power requirements before choosing a bundle.
Choose this when you already have a compatible Starlink Mini power solution and only need the mounting hardware.
Adds the vehicle power cable shown in the selected bundle for a more complete mobile Starlink Mini setup.

For Starlink Mini — Not Every Starlink Dish
The support dimensions and clamp layout are designed around Starlink Mini. Current product media specifically excludes several larger Starlink dish configurations.
Starlink Mini with the body profile shown in the current product images.
Do not use this product as a replacement mount for the larger Gen 3 / Rev 4 Standard dish.
Standard Actuated and High Performance units use different dimensions and mounting requirements.
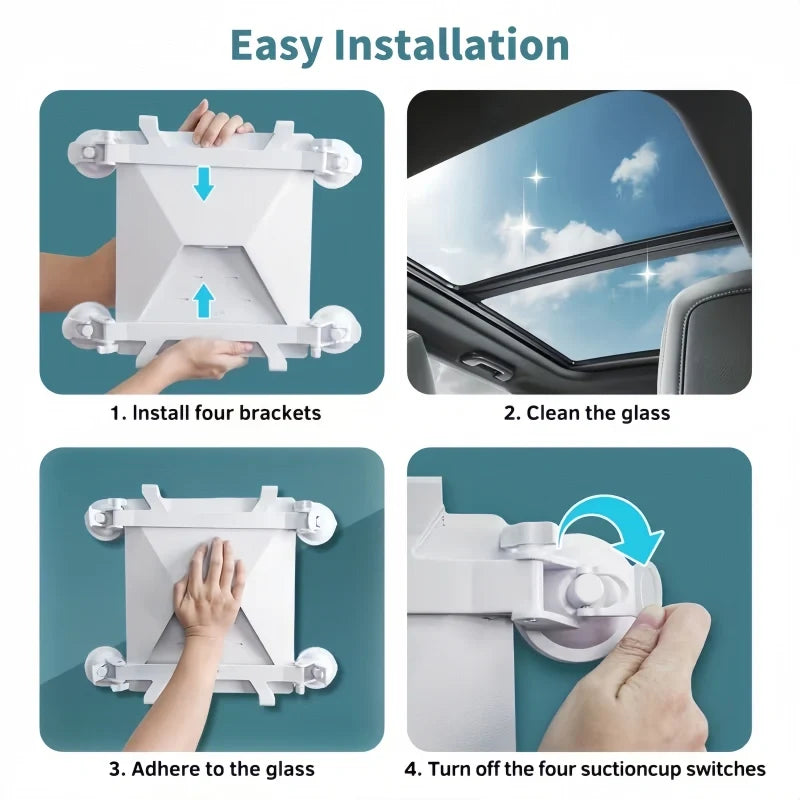
Assemble. Clean. Press. Lock. Check.
Suction performance depends heavily on installation quality. Every suction cup should have full contact with the mounting surface before the Starlink Mini is relied on.
Assemble the Brackets
Fit the selected support configuration around the Starlink Mini before mounting it to the vehicle.
Clean the Surface
Remove dust, oil, wax and moisture from the glass and suction-cup contact surfaces.
Press Into Position
Place every suction cup completely on a flat area without crossing trim, seams or curved edges.
Lock & Inspect
Engage each locking lever, then pull-test the mount gently before connecting power or moving the vehicle.

Check Suction and Visibility Every Time Before the Vehicle Moves
Suction strength can change with temperature, vibration, contamination, surface finish and time. A temporary suction mount should be inspected regularly rather than treated as permanent hardware.
Do not place the Starlink Mini where it blocks the windshield, mirrors, cameras, airbags or vehicle controls.
Stop using the mount immediately if any cup lifts, loses vacuum or begins moving on the surface.
Vehicle window-mounted equipment and in-motion Starlink use can be subject to local regulations and service-plan requirements.
Clean Suction Surfaces Before Reinstalling
Unlock the lever before lifting the edge of the suction cup from the surface.
Dirt and grit can reduce suction performance and may mark delicate surfaces.
Allow cleaned suction components to dry before reinstalling the mount.
Check cups, levers, brackets and fasteners for wear before each trip.
Complete the Starlink Mini Vehicle Setup
Three complementary power products for RV, vehicle and off-grid Starlink Mini use.
Starlink Mini Suction Mount Questions
Which Starlink model does this mount fit?
This mount is designed around Starlink Mini. Current compatibility media does not list Gen 3 Kickstand, Standard Actuated or High Performance Starlink dishes as compatible.
What is the difference between Single and Double Suction Mount?
The Single Suction Mount uses one support rail with two suction cups. The Double Suction Mount uses two support rails with four suction cups for a broader mounting footprint.
Does installation require drilling?
No. The mount uses removable suction-cup hardware and does not require drilling into the vehicle for the suction installation shown.
What surfaces work best?
Clean, smooth, flat and non-porous surfaces provide the best conditions for suction. Glass is generally more suitable than textured, porous or strongly curved surfaces.
Can I install it on a textured dashboard?
Do not assume a textured dashboard will hold suction. Grain, stitching, soft-touch coatings and curvature can prevent the suction cup from forming a complete seal.
Can I mount it on the windshield?
A suitable smooth windshield area can provide a suction surface, but the Starlink Mini and mount must not obstruct required driver visibility, airbags, mirrors, cameras or local legal sight lines.
Can it be mounted on a panoramic sunroof?
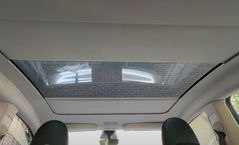
Current product imagery shows sunroof-glass mounting. The glass must be clean, smooth and large enough for every suction cup to sit fully on one flat surface. Inspect overhead mounts frequently because a released mount could fall into the cabin.
Can the Double Suction Mount be positioned in different directions?
Current product media shows the four-cup configuration positioned along both the long and short sides of the Starlink Mini. Confirm cable routing and available glass area before selecting the final orientation.
Is the mount guaranteed to stay attached while driving?
Suction performance varies with surface condition, temperature, vibration, installation quality and time. Inspect and pull-test every suction point before vehicle movement and stop using the mount if any cup begins to release.
Can I use Starlink Mini while the vehicle is moving?
Starlink in-motion service availability can depend on your service plan, region and current Starlink terms. Vehicle-mounted equipment must also comply with local laws and must not interfere with safe vehicle operation.
Can I mount the Starlink Mini outside the vehicle while driving?
Exterior vehicle mounting introduces additional wind, weather and vibration loads. Do not treat a removable suction mount as equivalent to a permanently engineered high-speed exterior mounting system. Use only in applications appropriate for the mount and inspect it frequently.
Is the 10FT vehicle power cable included?
Only the bundle options that specifically state “+ 10FT Vehicle Power Cable” include that cable. Mount-only variants do not include the optional power cable.
Does the mount supply power to Starlink Mini?
No. The mounting hardware itself is mechanical. Starlink Mini still requires a compatible power source and power cable. A 10FT vehicle power cable is available only in the corresponding bundle options.
How should I prepare the suction cups before installation?
Clean the mounting surface and the suction contact area, remove dust, oil and moisture, and allow everything to dry before pressing and locking the cups.
Can the suction mount be reused?
The mount is designed to be removable and reusable. Clean the suction surfaces between installations and inspect them for damage, deformation or contamination before reinstalling.
Will the suction cups leave marks?
Surface reactions can vary by material and coating. Test delicate surfaces first, keep the cups and surface clean, and avoid placing suction hardware on damaged films, loose coatings or surfaces that may be sensitive to pressure.
Is Starlink Mini included?
No. Starlink Mini, the vehicle and other lifestyle equipment shown in product imagery are for demonstration only. The included components depend on the selected mount and power-cable bundle.
Q&A
We provide assistance through email, live chat, and detailed installation guides. Additionally, we offer step-by-step tutorial videos featuring influencers to help you with the process.
We offer a one-year warranty (two years for some products).
Yes, the product can be removed after installation without affecting the original wiring harness of the vehicle.
We offer free returns and exchanges if there are any quality issues with the product upon receipt by the customer.

Subscribe
Join Us - Enjoy our latest news and exclusive discounts & gifts.