
Owner Brief: Tesla Model 3 Roof Rack—Hook, Torque and Overtightening Rules
Owner Brief · Current Tesla Primary Guidance
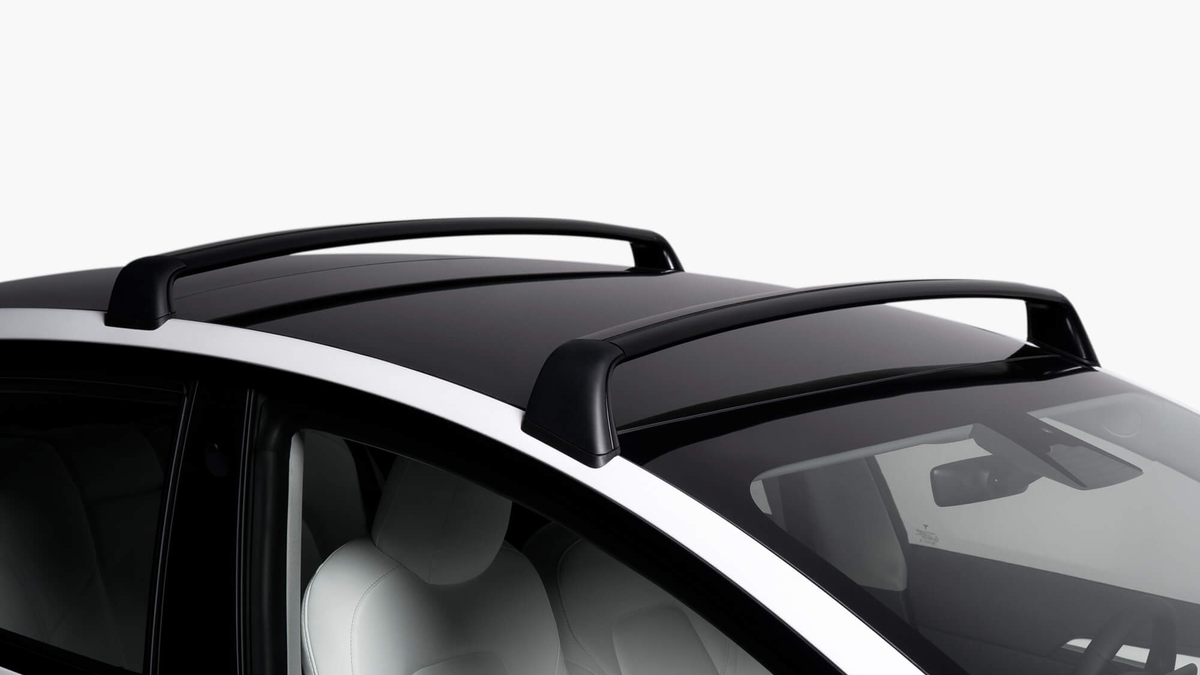
For the official Tesla Model 3 roof rack, Tesla’s current DIY guide says to align each hook with the glass arrow, place the longer crossbar at the front, tighten the wingnuts to 2.5–3.5 N·m and stop tightening beyond that range because overtightening may damage the vehicle.
30-Second Brief
- This Owner Brief is dated November 16, 2026 in America/Los_Angeles and does not claim Tesla released a new rack today.
- Tesla says the front crossbar is longer than the rear crossbar.
- Each hook must engage the metal receiver below the roof-glass seal and align with the glass arrow.
- Tesla recommends tightening the wingnuts to 2.5–3.5 N·m.
- Tesla warns that overtightening may damage the vehicle.
- Before fitting the covers, pull the bars in all directions and confirm there is no movement.
What Happened
Roof-rack installation is a timely owner topic as winter travel brings skis, boards and cargo boxes back into use. Tesla’s current DIY record provides a vehicle-specific sequence for the Model 3 roof glass, receivers, pads, crossbars and wingnuts.
This article enters the mandatory fallback ladder after more than five no-publication hours while the Los Angeles daily count remains below four. It is a clearly dated owner reference, not a same-window product announcement.
Source video: Tesla’s DIY page links to the official Model 3 Roof Rack Installation video.
What Is Confirmed
- Clean surface: Tesla says to clean and dry the rooftop around the glass arrows before applying anti-abrasion tape.
- Front tape position: the DIY guide specifies 18 mm from the front edge of the front glass top.
- Rear tape position: the guide specifies 42 mm from the rear edge of the rear glass top.
- Hook engagement: each rail clip must engage the metal receiver under the glass, with the center of the hook aligned to the arrow.
- Bar orientation: the front crossbar is longer than the rear crossbar.
- Torque: Tesla recommends 2.5–3.5 N·m at the wingnuts.
- Overtightening boundary: Tesla warns that overtightening may cause vehicle damage.
- Final check: all four hooks must be engaged, aligned and upright, and the installed bars should not move when pulled in every direction.
What Remains Unconfirmed
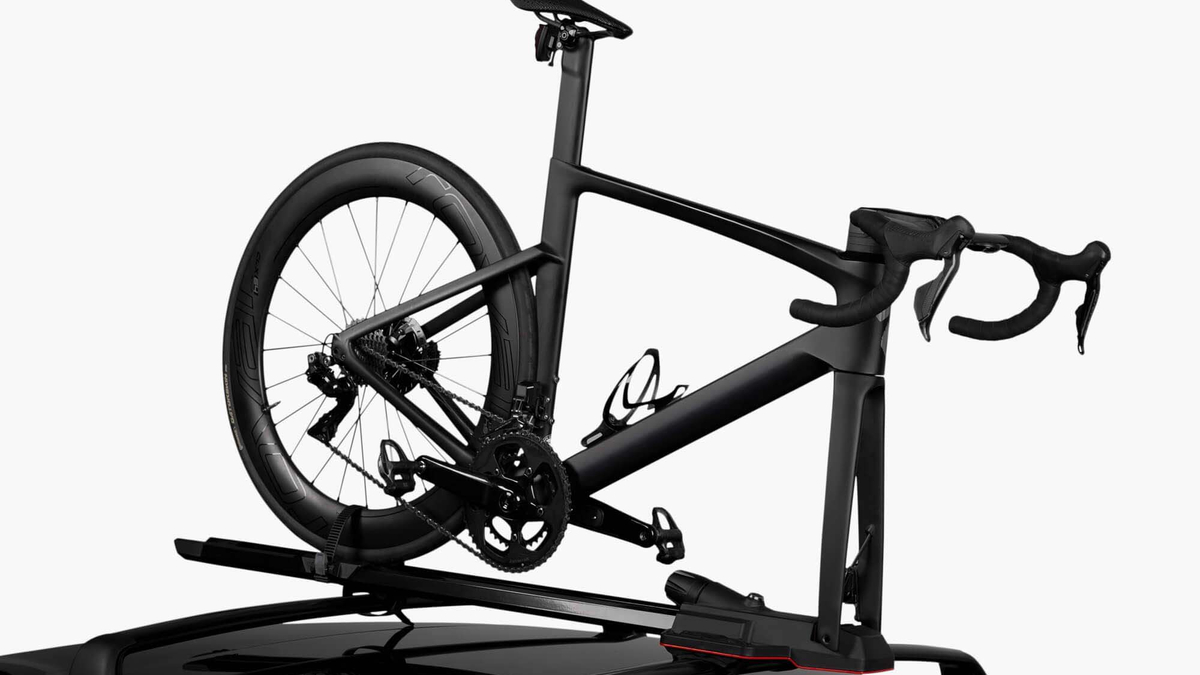
The DIY page does not prove that every third-party box, bicycle carrier, ski mount or cargo shape is compatible. Owners still need the attachment maker’s fit, weight, spacing, locking and speed limits.
The page also does not establish one universal range-loss figure. Aerodynamic impact depends on the attachment, cargo, speed, weather and route. This brief does not reproduce load, price or availability claims because the local publisher could not directly read the linked product and manual pages during this run.
Why It Matters
The mounting points sit beside the Model 3 glass roof. A clip that misses its receiver, a reversed bar pair or excess tightening force can turn an accessory installation into vehicle damage.
Tesla’s sequence is inspection-driven: align the hooks, seat the pads, set the bars, tighten inside the stated range, align the wingnut marks, lock the towers and then perform a pull test.
What Tesla Owners Should Know
- Use the matched Tesla guide. Do not install from memory or a generic roof-rack video.
- Protect the glass area. Clean, dry and apply the supplied anti-abrasion tape at Tesla’s stated locations.
- Confirm receiver engagement. Pull and wiggle each clip before placing the pads.
- Put the longer bar in front. Do not swap front and rear crossbars.
- Stay inside 2.5–3.5 N·m. Overtightening may damage the vehicle.
- Align the wingnut marks. Tesla uses this as part of the locked-system check.
- Pull-test both bars. There should be no movement before the covers go on.
- Check the attachment separately. A box, ski mount or bike carrier has its own limits.
Tesstudio Analysis
Tesstudio scores this dated Owner Brief at 71.8. Authority and owner usefulness are high because every installation measurement and warning comes from a directly readable Tesla service record. Timeliness and event magnitude are lower because this is standing guidance rather than a new product event.
The highest-value boundary is torque. Tesla gives a narrow range and an explicit damage warning, so improvising with “as tight as possible” is not supported by the manufacturer instructions.
Related Tesla News Resources
No Related Gear module is included. Tesstudio does not map a catalog product to this installation without a verified fit and mounting review for the reader’s exact accessory.
Sources & Reporting Notes
- Tesla DIY: Installing Roof Racks — directly readable primary hook, bar-orientation, measurement, torque, lock and overtightening instructions.
- Tesla Model 3 Roof Rack Owner’s Manual — manufacturer PDF linked for owner reference; direct HTTP returned 403 to the publisher during this run.
- Tesla Model 3 Roof Rack Installation video — official source video linked by the DIY page.
Reporting note: All factual installation claims are limited to the directly readable Tesla DIY page. The two images are official Tesla Shop product photographs cropped to 1200×675 without generative alteration. Unsupported load, price and availability claims are excluded.
Update & Correction Log
November 16, 2026: Initial Owner Brief. The article is limited to directly verified installation measurements and warnings.



Laisser un commentaire
Ce site est protégé par hCaptcha, et la Politique de confidentialité et les Conditions de service de hCaptcha s’appliquent.