
Owner Brief: Jump Starting a Tesla Model 3 Low-Voltage Battery
Owner Brief · Directly Readable Tesla DIY Guidance
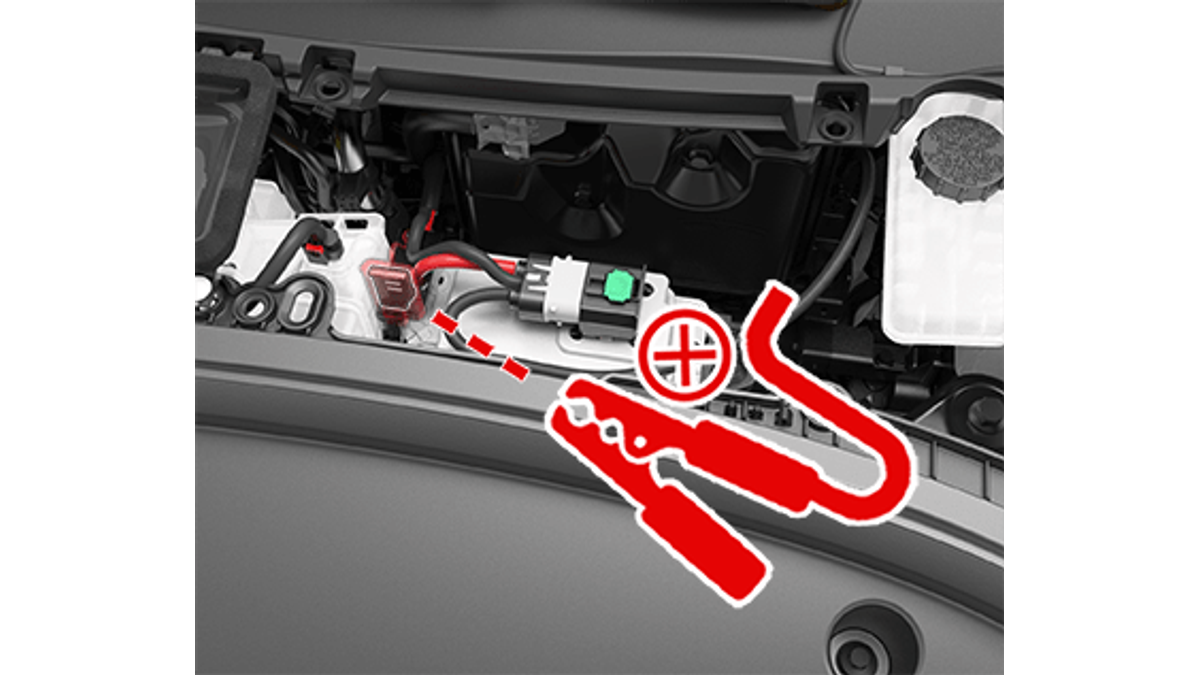
Before a Tesla Model 3 low-voltage jump start, use Controls > Software > Additional Vehicle Information to confirm whether the car has a lead-acid or lithium-ion low-voltage battery. Tesla documents different connection points for each. Avoid short circuits, disconnect the black negative cable first, and never use Model 3 to jump-start another vehicle.
30-Second Brief
- This Owner Brief is dated October 11, 2026 in America/Los_Angeles. It summarizes current Tesla DIY documentation and is not a claim that the low-voltage system changed today.
- Tesla says the jump-start procedure differs depending on whether the vehicle uses a lead-acid or lithium-ion low-voltage battery.
- Owners can check the battery type under Controls > Software > Additional Vehicle Information.
- The instructions assume an external low-voltage power supply such as a portable jump starter. If another vehicle is used, Tesla directs owners to that vehicle manufacturer’s instructions.
- Tesla warns against short circuits and says Model 3 cannot be used to jump-start another vehicle.
- When external support is no longer required, disconnect beginning with the black negative cable.
What Happened
Tesla maintains a Model 3 DIY page that separates two low-voltage battery architectures and gives owners a matched procedure for each. Older factory cutoffs listed by Tesla generally use a lead-acid battery, while later vehicles use a lithium-ion low-voltage battery, but Tesla’s own identification menu—not a guess from model year—is the correct first check.
This brief enters Tesstudio’s mandatory fallback ladder after five complete no-publication hours while the Los Angeles daily count remains below four. Same-window items were already represented, future-only, anecdotal or below a non-negotiable evidence gate, so the workflow expanded to current owner guidance without presenting it as breaking news.
What Is Confirmed
- Battery type controls the procedure: Tesla publishes separate lead-acid and lithium-ion steps.
- Identification path: Controls > Software > Additional Vehicle Information shows the low-voltage battery type.
- Lead-acid connection: Tesla directs the positive cable to the battery’s positive terminal and the negative cable to the battery’s negative terminal after removing the required trim panels.
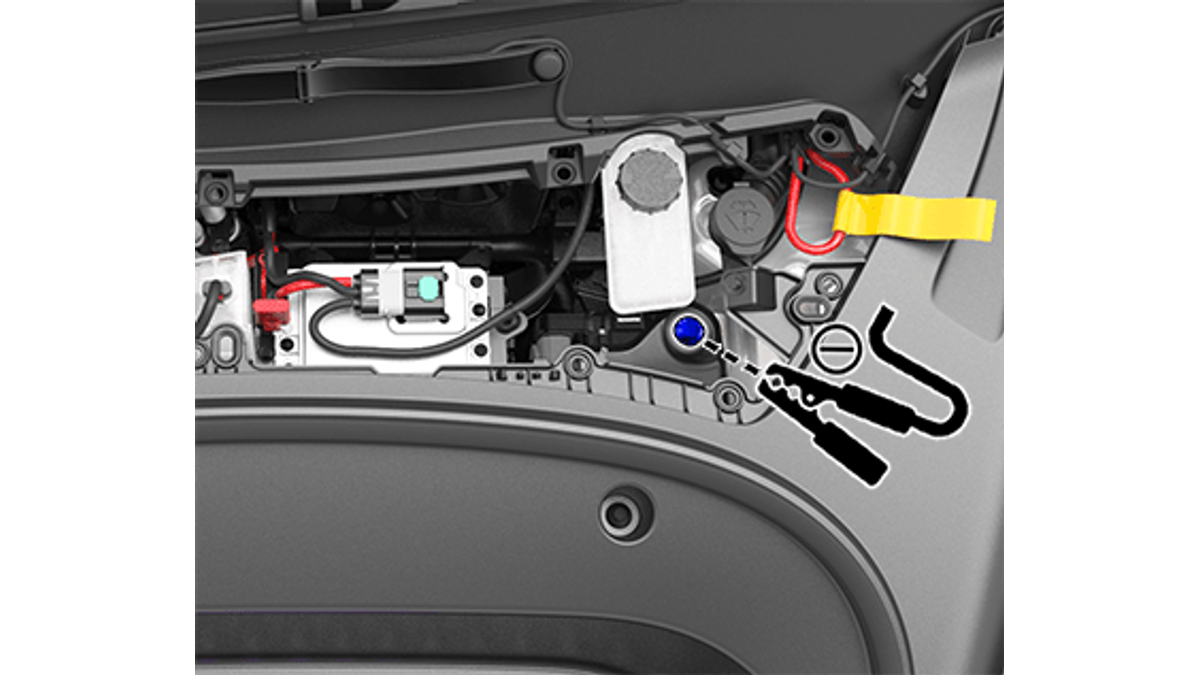
- Lithium-ion connection: Tesla directs the positive cable to the covered positive jump post and the negative cable to the designated grounding bolt near the brake-fluid reservoir.
- Wake-up time: Tesla says the touchscreen may take several minutes to wake after the external supply is turned on.
- Disconnect order: remove the black negative cable first when external support is no longer required.
- Damage prevention: Tesla warns against reversed or shorted leads and against allowing the positive cable to touch other metal components.
- Donor-vehicle boundary: Model 3 cannot be used to jump-start another vehicle.
What Remains Unconfirmed
A successful wake-up does not identify why the low-voltage system became unavailable, prove the battery is healthy or guarantee the vehicle is ready to drive. Persistent alerts, repeat failures or a vehicle that will not enter Drive require diagnosis rather than repeated jump-start attempts.
Tesla’s page does not say that every portable power supply is compatible with every battery architecture. Owners must follow both Tesla’s procedure and the external supply manufacturer’s instructions. Market, factory, build date and fascia differences can also change access details.
Why It Matters
The most consequential error is treating every Model 3 as if it has the same low-voltage battery. Tesla explicitly separates the procedures and supplies a menu path to identify the installed type. That check prevents owners from relying on a model-year shortcut that may not match the vehicle.
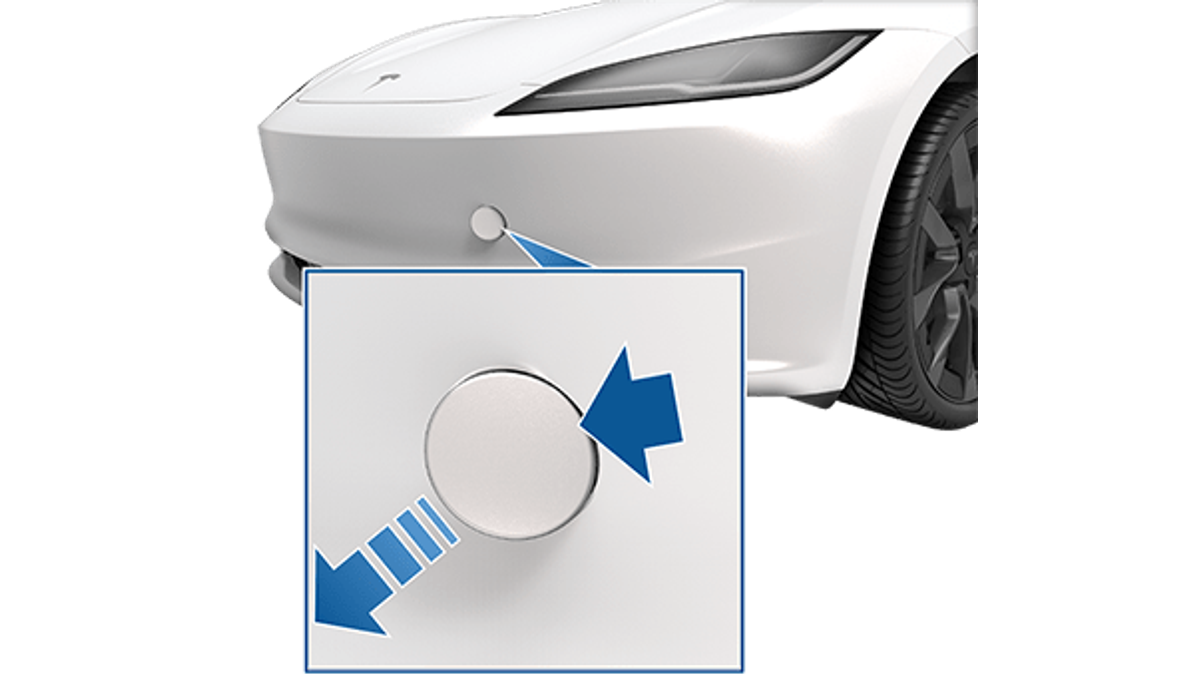
This also clarifies the boundary with Tesla’s separate no-power hood-release procedure. The leads behind the front tow-eye cover release the hood latches; Tesla says they do not charge the low-voltage battery. The actual jump-start connections are under the hood and depend on battery type.
What Tesla Owners Should Know
- Open the live guide. Use Tesla’s current Model 3 DIY page for the vehicle and region.
- Identify the battery type. Check Additional Vehicle Information before connecting a supply.
- Inspect the external supply instructions. Confirm its stated use and connection sequence.
- Keep polarity controlled. Do not reverse cables, touch leads together or let the positive cable contact nearby metal.
- Use the documented ground. On the lithium-ion procedure, Tesla specifies the under-hood grounding bolt rather than an arbitrary metal point.
- Allow time to wake. The touchscreen may take several minutes after the external supply is switched on.
- Disconnect black first. Follow Tesla’s removal order when support is no longer needed.
- Escalate repeat failures. Preserve alerts and contact Tesla service or roadside assistance when the problem returns or the car remains unavailable.
Tesstudio Analysis
This Owner Brief scores 72.9. Source authority and factual confidence are high because two directly readable Tier 0 Tesla DIY pages define the battery-type split, connection points, electrical cautions and hood-access boundary. Event magnitude and timeliness are lower because this is standing owner guidance, not a newly announced change.
The most useful takeaway is diagnostic restraint: external low-voltage support can wake a vehicle, but it does not explain the root cause. Owners should treat the procedure as access and recovery guidance, then respond to any persistent warning or repeat failure as a service issue.
Related Tesla News Resources
For the separate hood-latch step, see Tesstudio’s Model 3 no-power front-trunk Owner Brief. For flatbed and Tow Mode precautions, see the Model 3 transport guide. No Related Gear module is included because the evidence does not establish one universally compatible jump starter.
Sources & Reporting Notes
- Tesla Model 3 DIY — Jump Starting — primary instructions for battery identification, lead-acid and lithium-ion connection points, cautions, wake-up timing and disconnect order.
- Tesla Model 3 DIY — Opening the Hood with No Power — primary boundary showing that the front tow-eye leads release the hood but do not charge the low-voltage battery.
Reporting note: Both Tesla pages were read directly by the local verifier before publication. The two diagrams are Tesla manual assets fitted to 1200-by-675 canvases without factual alteration. Community posts were reviewed only as interest signals and are not used as evidence.
Update & Correction Log
October 11, 2026: Initial Owner Brief, published in mandatory sixth-hour fallback mode with the America/Los_Angeles daily count below four.


Laisser un commentaire
Ce site est protégé par hCaptcha, et la Politique de confidentialité et les Conditions de service de hCaptcha s’appliquent.